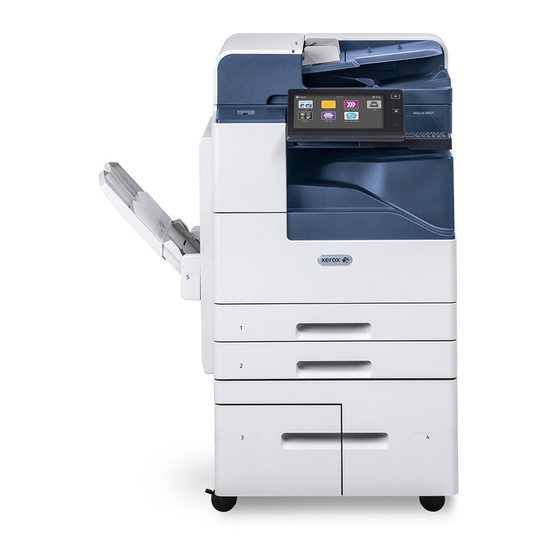
Xerox AltaLink B8090 Manutenzione - Pagina 2
Sfoglia online o scarica il pdf Manutenzione per Stampante All in One Xerox AltaLink B8090. Xerox AltaLink B8090 4. Customer training
Anche per Xerox AltaLink B8090: Come iniziare (14 pagine)

Replacing the Print Cartridge R2
WARNING Keep print cartridges upright to avoid spillage and do not
place on unprotected surfaces.
1&2. Open the front door. Immediately open and gently lower
the clearance door on the left side of the device using the handle.
Open left side clearance door BEFORE removing R2 Print
Cartridge.
3. Open the new print cartridge box, remove the card liner and
place it next to the box.
4. Open the re-sealable bag, Remove the top packaging and place
it on top of the card liner.
5. Unpack the new print cartridge and place it on top of the
packaging, next to the box.
6. Rotate the orange print cartridge locking lever counterclockwise
until it clicks. The lever is to the right of the print cartridge R2.
7. Lift the orange cartridge handle slightly and pull the cartridge
half out of the device. Lift the carrying handle on the top of the
cartridge and use it to support the weight while you remove it
from the device.
8. Place the old print cartridge in the box the new cartridge came
in and reseal the bag.
9. Insert the new print cartridge into the device using the orange
handle on the top to lift it. Rotate the orange lever clockwise to
latch the print cartridge into place.
10. Close the front door.
11. Close the door on the left side of the device, lift and gently
push it towards the device until you hear it click into place.
Clean the Print Head
