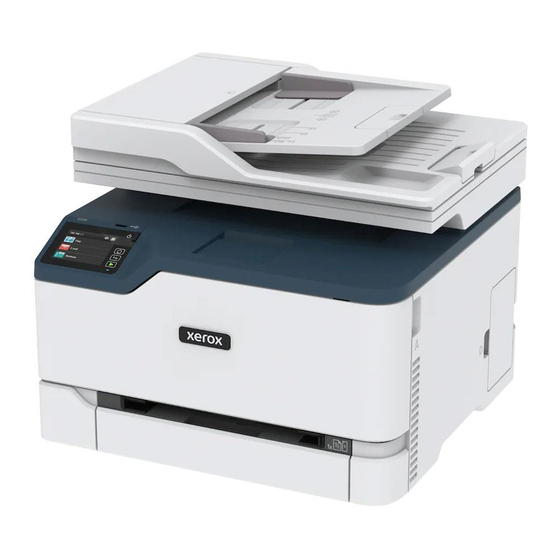
Xerox C235 Manuale di riferimento rapido - Pagina 11
Sfoglia online o scarica il pdf Manuale di riferimento rapido per Stampante All in One Xerox C235. Xerox C235 16. Color multifunction printer
Anche per Xerox C235: Manuale di riferimento per la sicurezza, la regolamentazione, il riciclaggio e lo smaltimento (36 pagine)

F F o o r r W W i i n n d d o o w w s s U U s s e e r r s s
1. Open the printers folder.
2. Select the printer you want to update, and then do either of the
following:
• For Windows 7 or later, select Printer properties.
• For earlier versions, select Properties.
3. Navigate to the Configuration tab, and then select Update Now -
Ask Printer.
4. Apply the changes.
F F o o r r M M a a c c i i n n t t o o s s h h U U s s e e r r s s
1. From System Preferences in the Apple menu, navigate to your
printer, and then select Options & Supplies.
2. Navigate to the list of hardware options, and then add any
installed options.
3. Apply the changes.
C C o o n n n n e e c c t t i i n n g g a a m m o o b b i i l l e e d d e e v v i i c c e e t t o o t t h h e e p p r r i i n n t t e e r r
Before connecting your mobile device, make sure that Wi-Fi Direct has
been configured. For more information, see
Configuring Wi-Fi
C C o o n n n n e e c c t t i i n n g g U U s s i i n n g g W W i i - - F F i i D D i i r r e e c c t t
Note:
These instructions apply only to Android mobile
devices.
1. From the mobile device, go to the settings menu.
2. Enable Wi-Fi, and then tap Wi-Fi Direct.
3. Select the printer Wi-Fi Direct name.
4. Confirm the connection on the printer control panel.
C C o o n n n n e e c c t t i i n n g g U U s s i i n n g g W W i i - - F F i i
1. From the mobile device, go to the settings menu.
2. Tap Wi-Fi, and then select the printer Wi-Fi Direct name.
Note:
The string DIRECT-xy (where x and y are two random
characters) is added before the Wi-Fi Direct name.
3. Enter the Wi-Fi Direct password.
Clearing Jams
A A v v o o i i d d i i n n g g j j a a m m s s
L L o o a a d d p p a a p p e e r r p p r r o o p p e e r r l l y y
• Make sure that the paper lies flat in the tray.
Correct loading of paper
• Do not load or remove a tray while the printer is printing.
• Do not load too much paper. Make sure that the stack height is
Direct.
below the maximum paper fill indicator.
• Do not slide paper into the tray. Load paper as shown in the
illustration.
• Make sure that the paper guides are positioned correctly and are
not pressing tightly against the paper or envelopes.
• Push the tray firmly into the printer after loading paper.
U U s s e e R R e e c c o o m m m m e e n n d d e e d d P P a a p p e e r r
• Use only recommended paper or specialty media.
• Do not load paper that is wrinkled, creased, damp, bent, or curled.
• Flex, fan, and align the paper edges before loading.
Incorrect loading of paper
• Do not use paper that has been cut or trimmed by hand.
• Do not mix paper sizes, weights, or types in the same tray.
• Make sure that the paper size and type are set correctly on the
computer or printer control panel.
• Store paper according to manufacturer recommendations.
I I d d e e n n t t i i f f y y i i n n g g j j a a m m l l o o c c a a t t i i o o n n s s
• When Jam Assist is set to On, the printer might attempt to flush
blank pages or pages with partial prints after clearing the jam.
Check your printed output for blank pages.
• When Jam Recovery is set to On or Auto, the printer reprints
jammed pages.
1. Automatic document feeder (ADF)
2. Standard Output Tray
11
