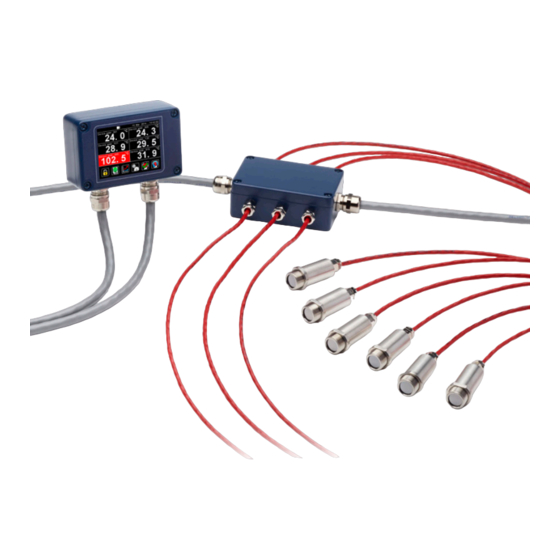
Calex PMB21 Manuale dell'operatore - Pagina 13
Sfoglia online o scarica il pdf Manuale dell'operatore per Accessories Calex PMB21. Calex PMB21 17.

ELECTRICAL INSTALLATION
The PM180 has removable screw terminal blocks for its Modbus Slave and Modbus Master
interfaces.
1
Connect the Master interface to the sensors and output modules. Be sure to check the
power supply requirements of each device before applying power.
2
Optionally, connect the Slave interface to another Modbus network with its own Modbus
Master such as a PLC or SCADA system.
Isolation is provided between the Slave and Master interfaces.
Ensure the shielding of the RS485 network is continuous from the sensors to the Modbus
Master. There should be only one possible path to ground from any point on the shielding. If
necessary, introduce strategic breaks in the shielding (e.g. at junction boxes).
MICROSD CARD AND BATTERY
The MicroSD Card and battery slots are located on the touch screen circuit board. Unscrew
the lid of the PM180 to access them.
The battery is optional. With a battery fitted, the internal clock will continue to run when the
power is off. Without a battery, the unit will request the date and time each time the power is
cycled.
All other settings are stored in the unit's permanent memory and will be preserved when it is
switched off, regardless of whether a battery is fitted.
USING THE TOUCH SCREEN INTERFACE
Visit www.calex.co.uk/PM180 for help on how to use the touch screen interface, including a
diagram showing how to navigate to each setting and set up the optional output modules.
By default, the PM180 is locked and the Settings menu is greyed out. To access the Settings
menu, unlock the PM180. The default password is 1234. After entering the password, tap the
Unlock icon to unlock the unit. The password can be changed via the touch screen interface.
FIRST-TIME CONFIGURATION
1
The first screen displayed on the PM180 is the Sensor List. The list is empty by default.
2
Tap "Add Device" to add a sensor.
3
Enter the Modbus address of the sensor to be added. The factory-set Modbus address is
shown on a tag attached to the sensor.
4
Select the type of sensor and tap Apply (the green checkmark).
5
Repeat "Add Device" process for the remaining connected sensors and tap the Exit icon
to start measuring temperatures.
CHANGING A SENSOR'S MODBUS ADDRESS
Provided each Modbus address is unique, there should be no need to change the addresses
of the connected sensors. If required, it can be done as follows:
1
On the PM180 interface, browse to Settings - Modbus Master - Sensor List
2
Tap the desired sensor to enter the Sensor Settings menu, then Modbus Address.
3
Enter the new Modbus Address for that sensor. The new address will be applied when
the power is cycled.
4
Cycle the power.
If the changed sensor is no longer communicating with the PM180 (shown by a red
temperature display), it is because the PM180 is still looking for the previous address. To
resolve this, remove and add the sensor to the Sensor List:
1
Browse to Settings - Modbus Master - Sensor List
2
Tap the sensor that is no longer communicating, then tap Remove Device
3
On the Sensor List, tap Add Device and enter the Modbus address of the new sensor. Be
sure to select the correct sensor type.
13
