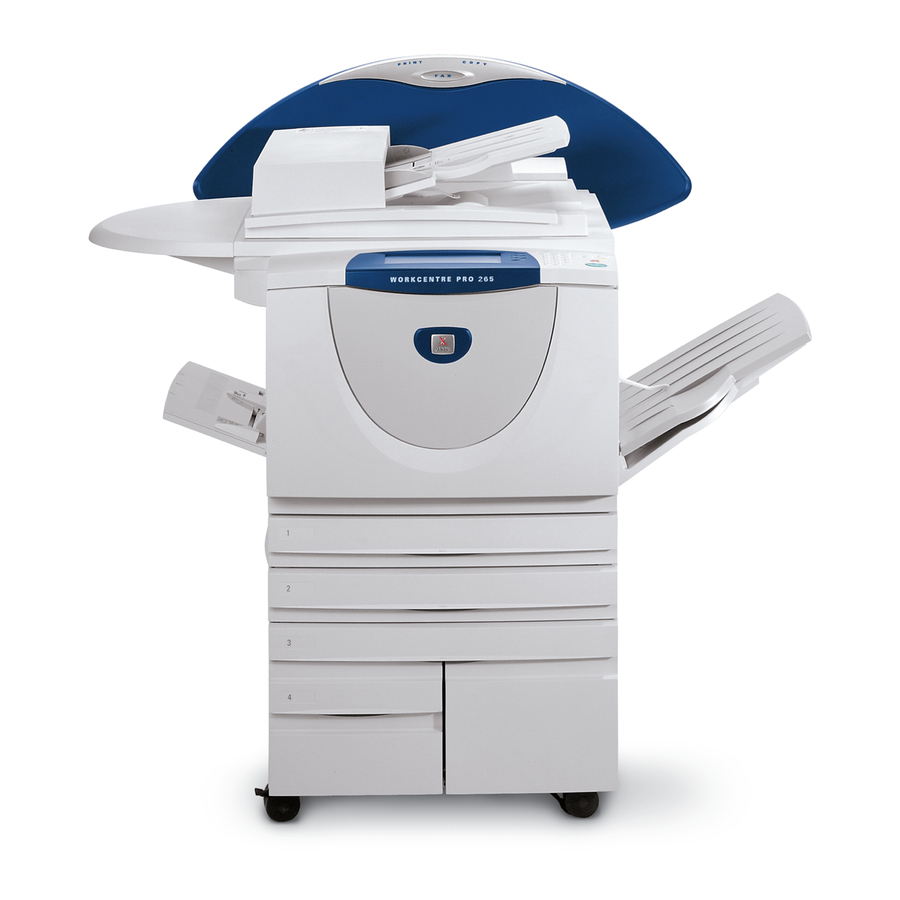
Xerox WorkCentre Pro 75 Manuale di installazione della rete - Pagina 22
Sfoglia online o scarica il pdf Manuale di installazione della rete per Copiatrice Xerox WorkCentre Pro 75. Xerox WorkCentre Pro 75 42. Pdl reference guide
Anche per Xerox WorkCentre Pro 75: Manuale di avvio rapido (16 pagine), Manuale d'uso (24 pagine), Manuale di amministrazione del sistema (30 pagine), Manuale di riferimento (22 pagine)

Microsoft Windows 2000 LPR and IPP Printing
8.
Prepare for printer installation
a) Proceed to the next section of this procedure
called Go to the server and...
Go to the Server/Workstation and...
1.
Verify the correct software is loaded
a) At the Desktop, right mouse click the My
Network Places icon and select Properties.
Right mouse click on the Local Area
Connection icon and verify that the Internet
Protocol (TCP/IP) protocol has been
loaded.
2.
Add the printer
a) Open the Control Panel and double-click
Printers icon. Double-click Add Printer. The
Add printer Wizard starts.
b) Verify that Network Printer is selected and
click Next>.
c) The Locate your Printer screen will appear.
d) Follow the steps to Create a LPR printer
below OR Create an IPP printer in the right
column.
To create a LPR Printer
a) Select Local Printer; deselect Automati-
cally detect and install my Plug and Play
printer. Click Next.
b) Select Create a new port and choose
Standard TCP/IP port from the pull-down
menu. Click Next twice.
c) Enter the Printer Name or its IP address.
The Printer Name can be either the Host
Name or the SMB Host Name as shown on
the configuration report, depending on the
name resolution used (WINS or DNS). The
Port Name is automatically filled in for you
but you can change it if you want to. Click
Next.
d) The Wizard will automatically detect the
Printer Model for you. If that does not happen
select Standard and choose your Printer
Model from the pull-down menu.
e) Click Finish. Go to Step 3.
604P15200
Create an IPP printer
a) Select Network Printer. Click Next.
b) Select Connect to a printer on the Internet or
on your intranet. Type
printer's name or IP address in the URL field.
The Printer Name can be either the Host Name
or the SMB Host Name as shown on the
configuration report, depending on the name
resolution used (WINS or DNS). Click Next, then
click OK.
3.
Insert CentreWare Print and Fax Drivers CD
located in the CentreWare Network Services
Pack in the CD drive click Have Disk. Choose
CD drive letter.
a) Click the Browse button and select the Drivers
directory. Locate the correct driver for your con-
figuration. Details for this are contained in the
leaflet entitled Getting Started with Network
Services. Select the .INF file then click Open,
then click OK. Select the desired print driver
from the Printers: and click OK. The driver will
be installed.
b) The Default Printer window will open. Select
Yes to make this the default printer, otherwise
click the Next> button. At the Completing the
Add Printer Wizard screen, click the Finish
button.
c)
Print a Test Page. Verify that it prints. Repeat
for each Workstation on the network that will
print to the printer.
22
http://
followed by the
