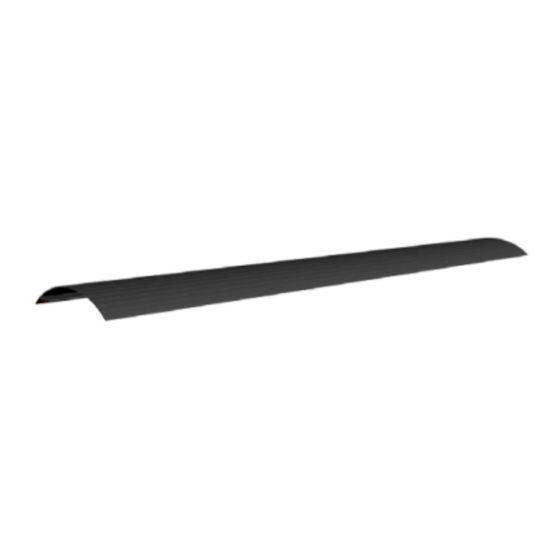
Ecoological GapShield Manuale di installazione
Sfoglia online o scarica il pdf Manuale di installazione per Automobile Accessories Ecoological GapShield. Ecoological GapShield 2.

Installation Manual
www.ecoological.com
Dear valued customer,
Thank you for choosing the GapShield as a valued accessory for your truck that will save you significant time and
hassle from cleaning out that obnoxious debris that falls in the tailgate gap. The following page includes
installation instructions so that your GapShield will properly perform as specified after the installation.
Approximate installation time: 5-10 minutes
TOOLS REQUIRED
Clean Cloth
Rubbing alcohol, surface cleaner, soap/water
Scissors or other cutting utensil
Read and understand all instructions before installing or using this product. The GapShield will fit trucks with plastic liners, spray liners
and no liners. However, the attachment may be more difficult if a plastic or spray liner is installed in the truck. Any modification or
unintended use of this product shall immediately void all manufacturer warranties. The manufacturer disclaims all liability for injuries
to persons and property resulting from modifications to, or unintended use of this product.
WARNING - Car washes may cause tape to lose its adhesion, especially to spray liners. If using a power washer, do not spray directly
on the GapShield as it could detach it from its location.
Open the tailgate and clear any debris from the gap and bed surface. Before removing red backing
from tape, put the GapShield in place and determine its fitting. If it needs to be cut to size, use scissors
or other cutting utensil to create the right size for your specific truck.
Use clean cloth with rubbing alcohol, surface cleaner, or soap and water to wipe clean the bedside
surface highlighted to the right in Figure 1. Let dry thoroughly. (NOTE: For best tape adhesion results,
use a cleaner that will remove oil and grease when cleaning the surface).
Open your adhesion promoter wipe and apply to cleaned truck surface where tape
will be applied (see highlighted area in Figure 1).
Position the GapShield such that the tape portion is near the rearward edge of the
truck bed as shown in Figure 2. Draw a straight pencil line on the truck bed along
the forward edge of the GapShield for reference.
Peel red backing from adhesive strip progressively as you carefully position the
GapShield into place per your drawn line. Continue until the tape is evenly applied to the truck bed
surface (refer to Figures 2 and 3). Apply firm pressure along the taped area to assure adhesion.
If the corrugated surfaces extend to the very end of the truck bed, the soft material of the
GapShield will form around those raised areas. However, make sure to apply enough pressure to
these areas for good tape adhesion. In some cases, such as where the corrugated surface of a
plastic liner does not provide sufficient surface area for adhesion. The GapShield can be installed
with the taped portion between the liner and the truck bed.
The GapShield is designed to flex when the tailgate is in the closed position (A) and to lay relatively flat and bridge the gap between
the truck bed and tailgate when the tailgate is lowered (B), keeping loose materials/debris from falling through the gap.
(A)
The free end of the GapShield may also be tucked in the tailgate gap without interfering with the closure of the tailgate (C). In this
position, the GapShield is out of the way of any other uses of your truck bed when the tailgate is lowered. In addition, in this
position, the GapShield acts as a nice tailgate seal when the tailgate is closed (D), inhibiting intrusion of dust, moisture, etc. in to the
truck bed while the truck is in motion. However, before hauling loose material, the free end must be pulled back out of the gap to
be in the correct position when hauling loose materials.
©2013 Ecoological
INSTALLATION TIME
(1) GapShield w/installed tape
-ATTENTION-
INSTALLATION
DIRECTIONS FOR USE
(B)
03/2013
PARTS INCLUDED
(1) Adhesion promoter
(C)
(D)
