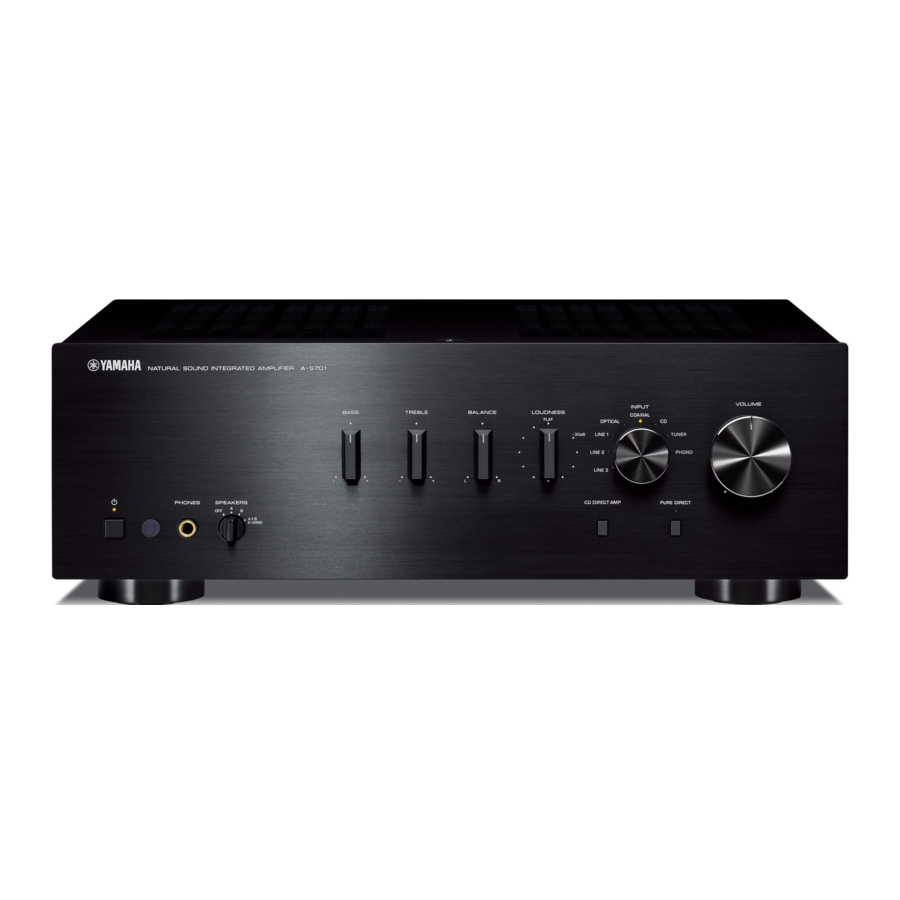
Yamaha A-S501 Manuale d'uso - Pagina 12
Sfoglia online o scarica il pdf Manuale d'uso per Amplificatore Yamaha A-S501. Yamaha A-S501 20. Integrated amplifier
Anche per Yamaha A-S501: Manuale d'uso (39 pagine), Manuale d'uso (35 pagine), Manuale d'uso (40 pagine)

CONNECTIONS
■ REC jacks
• The audio signals are not output via the LINE 2 REC
or LINE 3 REC output jacks when LINE 2 or LINE 3
is selected with the INPUT selector.
• The VOLUME, BASS, TREBLE, BALANCE and
LOUDNESS controls and the CD DIRECT function
(or the PURE DIRECT function) have no effect on the
source being recorded.
■ Connecting speaker cables
1 Remove approximately 10 mm of insulation from the
end of each speaker cable.
2 Twist the bare wires of the cable firmly together.
3 Unscrew the knob.
4 Insert one bare wire into the hole in the side of each
terminal.
5 Tighten the knob to secure the wire.
Red: positive (+)
Black: negative (–)
CAUTION
• Set the IMPEDANCE SELECTOR switch according to
the impedance of the speakers to be connected (see
page 5).
• Do not let bare speaker wires touch each other or any
metal part of this unit. This could damage this unit and/
or the speakers.
■ Connecting via banana plug
(North America, General, China and
Australia models only)
1 Tighten the knob.
2 Insert the banana plug into the end of the
corresponding terminal.
Banana plug
■ Bi-wire connection
In the case of speakers supporting the bi-wiring
connection, the tweeter/midrange unit and woofer of the
speakers can be driven independently through connections
shown in the following figure, allowing you to enjoy clear
mid- and high-range sounds.
10
En
Connect the other speaker to the other set of terminals in
the same way.
Note
When making bi-wire connections, remove the shorting bridges
or cables on the speaker. Refer to the speakers' instruction
manuals for more information.
y
To use the bi-wire connections, set the SPEAKERS selector on
the front panel to the A+B BI-WIRING position.
10 mm
Connecting power cable
CAUTION
(General model only)
Before connecting the power cable, make sure you set
VOLTAGE SELECTOR of this unit according to your
local voltage. Improper setting of VOLTAGE SELECTOR
may cause fire and damage to this unit.
■ AC IN (A-S701)
Connect the supplied power cable to AC IN after all other
connections are complete.
■ Power cable (A-S501/S301)
Connect the power cable to an AC wall outlet after all
other connections are complete.
Rear panel
Speaker
To the AC
wall outlet
(A-S501/S301)
To the AC
wall outlet
(A-S701)
