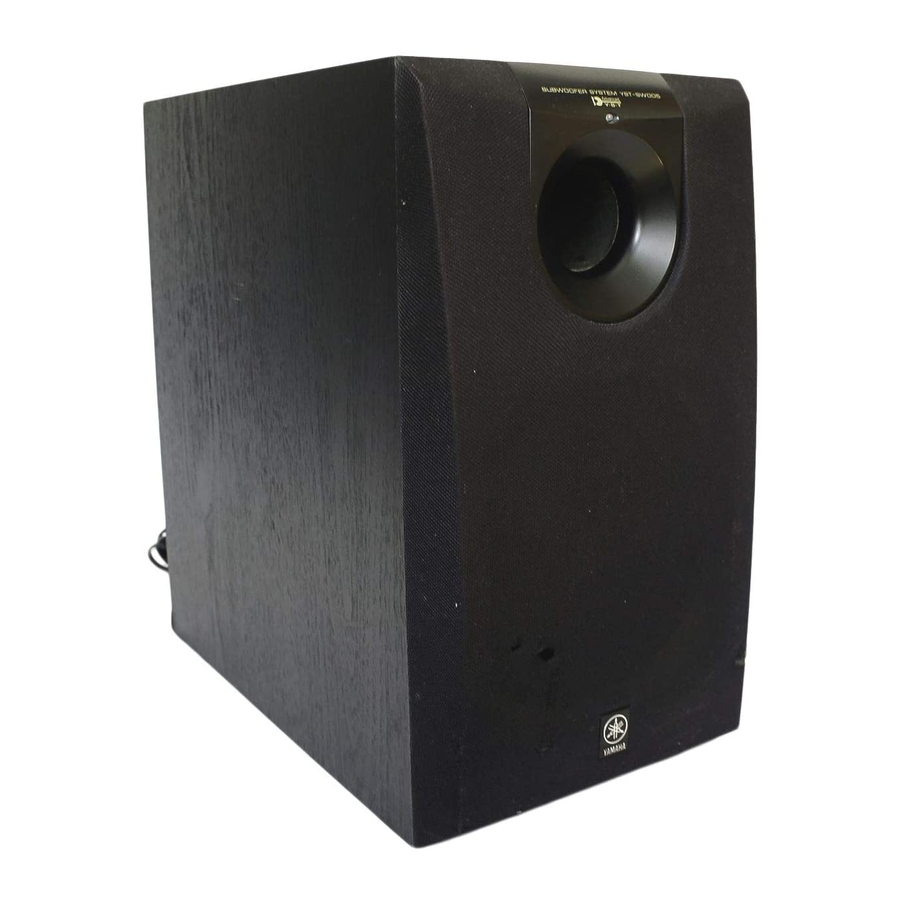
Yamaha YST-SW005 Manuale di servizio - Pagina 4
Sfoglia online o scarica il pdf Manuale di servizio per Sistema di altoparlanti Yamaha YST-SW005. Yamaha YST-SW005 13. Yamaha subwoofer system owner's manual
Anche per Yamaha YST-SW005: Manuale d'uso (20 pagine), Manuale d'uso (19 pagine), Manuale di servizio (16 pagine)

DISASSEMBLY PROCEDURES / 分解手順
(Remove parts in the order as numbered.)
For exchanging the driver unit
1. Removal of Front Grille
The front grille is fixed to the cabinet with dowels at 6
locations.
As a screwdriver (for slotted head screw) is used for
removal, use special care not to cause damage to the
cabinet.
a. Apply the block to the rear panel so as to avoid damage
to the Terminal of the rear panel.
b. Use the screwdriver inserted in the gap between the
front grille and the cabinet (bottom side first), push up
the front grille. (Fig. 1)
c. Remove the front grille by lifting it up. (Fig. 1)
2. Removal of Driver unit and Replacement of LED
a. Remove 4 screws (1) in Fig. 2, and remove the Driver
unit.
b. Disconnect the cord connected to the Driver unit.
c. Remove 4 screws (2) and pull out the port section
forward. LED can then be replaced.
For repairing P.C.B.
1. Removal of Rear Panel
Remove 14 screws (2) in Fig. 3, and remove the rear
panel. At this time, disconnect the connector CB5 of
MAIN P.C.B. (1).
* When reassembling the rear panel which has been
removed from the rear panel, be sure to replace the
packing to prevent the air leakage.
2. P.C.B. Operation Check
Connect the connector CB5 of MAIN P.C.B. (1).
● スピーカーの交換
1. フロン ト グリ ルの外し方
フロ ン ト グリ ルと本体は6箇所のダボで固定されています。
取 り 外しの際、 本体に傷が付かないよ う に十分注意して く ださ
い。
a. リ アパネルの接続端子を保護する よ う に枕木をあてがい本体を
ねかせます。
b. フロ ン ト グリ ルの下側にすき間が2箇所あ り ます。 このすき間にマ
イ ナス ドライバーを差し込み押し上げます。 ( Fig. 1)
c. 上側もマイ ナス ドライバーで押し上げ、 フロ ン ト グリ ルを外しま
す。 ( Fig. 1)
2. ス ピーカーの外し方、 LEDの交換
a. ①のネジ4本を外し、 ス ピーカーを外します。 ( Fig. 2)
b. ス ピーカーに接続されている コー ドをはずします。
c. ②のネジ4本を外し、 ポー ト部分を手前に引き出すとLEDの交
換ができ ます。
Fig. 1
● P.C.B.の修理
1. リ アパネルの外し方
②のネジ14本を外し、 リ アパネルを外します。 ( Fig. 3)
このと きMAIN P.C.B. (1) のコネク ターCB5をはずします。
※リ アパネルをキャ ビネ ッ トか ら外 した場合は、 エアー漏れを防ぐため組立
時にパッキンを交換する こ と。
2. P.C.B.動作チェ ッ ク
MAIN P.C.B. (1) のコネク ターCB5を接続します。
CB5
Fig. 3
2
2
2
2
1
1
1
1
3
YST-SW005
Fig. 2
4
