If you are using the joist mount, determine the general mounting location and then find the closest
3
joist support for that location. Drill a 5/16" (.79 cm) pilot hole that is approximately 2 inches (5 cm)
deep into the joist. Place two (2) Jam Nuts on the Hanger Bolt and tighten the nuts together (see the
joist style diagram on the previous page). Turn the Hanger Bolt into the joist up to the place on the
bolt where the threads change from wood threads to machine threads. Loosen and remove one of
the Jam Nuts.
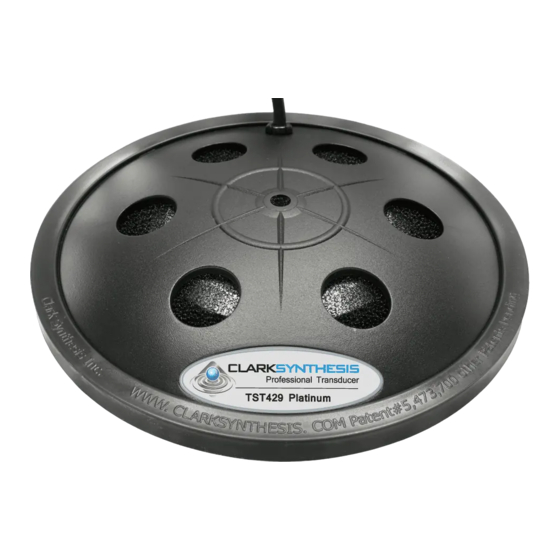
Lifting the transducer up to the Hanger Bolt, place the transducer's brass mounting nut onto the
machine thread side of the Hanger Bolt. Insuring not to cross-thread the Hanger Bolt into the brass
nut, gently turn the transducer 5 to 6 complete revolutions. If you feel resistance, stop immediately.
CAUTION: DO NOT OVERTIGHTEN.
Spin the Jam Nut that is still on the Hanger Bolt down to the brass nut and, using two wrenches (one
on the Jam Nut and one on the brass nut), tighten the Jam Nut against the brass nut.
CAUTION: DO NOT TIGHTEN THE JAM NUT TO THE BRASS NUT BY TURNING THE
TRANSDUCER. THIS WILL RESULT IN SEVERE DAMAGE TO THE TRANSDUCER AND WILL
VOID THE WARRANTY.
If you are using the bridge mount, determine which type of bridge you want to use (straight or arched).
4
If you are using the arched bridge style, cut the arch using the dimensions shown on the previous
page.
Cut the length of the bridge board to fit snugly between the two support joists. The bridge board must
be at least 3/4" (1.9 cm) thick. Screw the bridge board securely between the support joists. Follow the
directions for installing the Hanger Bolt and the transducer under Step 3, above.
Once the transducer is mounted to the Hanger Bolt, run exterior grade speaker wire from your audio
5
equipment (receiver and/or amplifier) to the wire lead on the transducer. Connect the wires, insuring
the splice is as waterproof as possible. Your AW339 All-Weather transducer is now ready to enjoy.
www.clarksynthesis.com
Installation: Wood Decks
Tactile Sound Transducers
13

