Caliber 35460 Manuale d'uso - Pagina 9
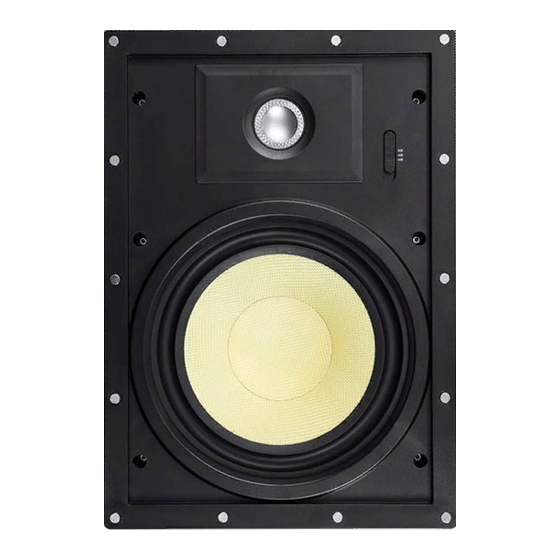
Sfoglia online o scarica il pdf Manuale d'uso per Altoparlanti Caliber 35460. Caliber 35460 14. Snap lock in-wall/in-ceiling speakers

INSTALLATION
Perform the following steps to install the speaker onto a wall or ceiling composed of
drywall. Note that most of the same procedures apply to ceiling installations. The speaker
can be mounted to a surface that is between 1.2" and 1.7" thick, with at least 3.7" internal
clearance.
1. Determine where you will be installing the speaker. Use a stud finder to ensure that
there is sufficient space between the desired location and the adjacent studs. Be
sure and check for horizontal framing members, as well. Use a pencil to mark the
edges of the adjacent studs.
2. Position the installation template against the wall or ceiling at the installation
location.
3. For in-wall installations, use a carpenter's level to ensure that the template is level.
4. Use a pencil to mark the cut line around the outside of the template.
5. Remove the template from the wall and set it aside.
6. For in-wall installations, use the level again to check the cut lines to ensure that
they are level. Repeat steps 2-5 as necessary until the cut lines are level.
7. Drill a small hole in the middle of the cutout area. If the proposed installation
location is not clear, you can more easily repair the small hole than if you cut
without checking and find one or more obstructions.
8. Take a stiff piece of wire, such as a hanger, and bend it 90° about 8" from the end.
Insert the wire past the bend, then rotate the wire 360° to check for hidden
obstructions behind the wall or ceiling. Push it in to ensure that there is sufficient
clearance.
9. Once you know your installation location is clear, use a drywall or keyhole saw to
cut along the cut lines.
10. If you have not already done so, prepare your speaker wire in accordance with the
guidelines in the
Important! Because the speaker wire will necessarily be routed through your walls
or ceiling, you must use in-wall rated speaker wire!
SPEAKER WIRE PREPARATION
section above.
9
