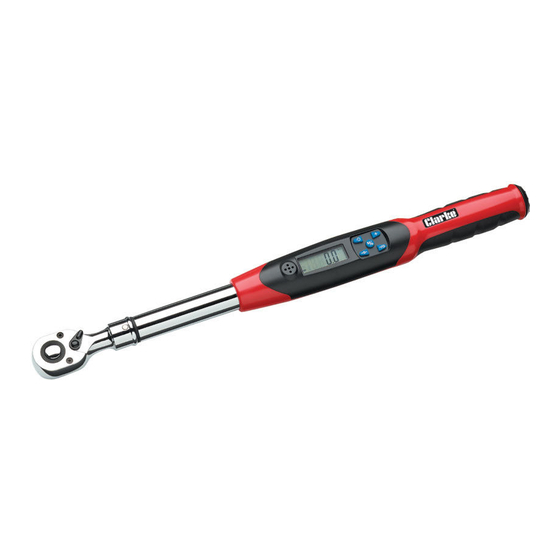
Clarke PRO237 Istruzioni per il funzionamento e la manutenzione - Pagina 10
Sfoglia online o scarica il pdf Istruzioni per il funzionamento e la manutenzione per Utensile elettrico Clarke PRO237. Clarke PRO237 12. Digital torque wrench

OPERATION
CAUTION: NEVER USE THE TORQUE WRENCH WHEN THERE IS A LOW
BATTERY CONDITION AS THE TORQUE WRENCH ACCURACY WILL BE
AFFECTED.
CAUTION: NEVER EXCEED THE PERMITTED MAXIMUM TORQUE VALUE
FOR THIS WRENCH. OVERLOADING THE WRENCH COULD CAUSE
DAMAGE.
1. Select the socket required and attach it to the square drive. If possible,
avoid the use of flexible extensions or universal joints which could possibly
result in inaccurate torque readings.
2. Engage the nut or bolt and apply a steady pull with the wrench.
• As the torque reaches half the target value, the LED will show a
yellow light, as the target torque is reached, the LED will illuminate in
green and the alarm will bleep. When the target is exceeded by
approximately 2% the LED will show a red light accompanied by a
continuous alarm tone.
• If in the PEAK mode, the measured torque will be displayed and the
highest value measured will remain as a flashing display until the
wrench is re-set for the next measurement by pressing the
or the wrench reaches the time limit to automatically power-off.
• If in the TRACK mode, the actual torque applied at any moment will
be displayed.
3. When the continuous tone is heard, you have reached/exceeded your
target torque, so stop pulling immediately.
Note: if the wrench is operated to its maximum range, the coloured LED
will indicate green at 98% of the range, yellow at 100% and then
change to red with a continuous tone and
above this point.
CARE OF THE TORQUE WRENCH DURING USE
1. For assured accuracy of the wrench, periodic self re-setting is necessary as
described under MAINTENANCE & CALIBRATION.
2. Check that the wrench capacity is adequate for the anticipated load
before proceeding and do not exceed the maximum torque setting for
the wrench as stated in the Technical Specification.
3. Re-set the wrench as described under MAINTENANCE & CALIBRATION, if
you believe its capacity may have been exceeded.
Parts & Service: 020 8988 7400/E-mail:[email protected] or [email protected]
'ERRO
10
button,
' displayed
