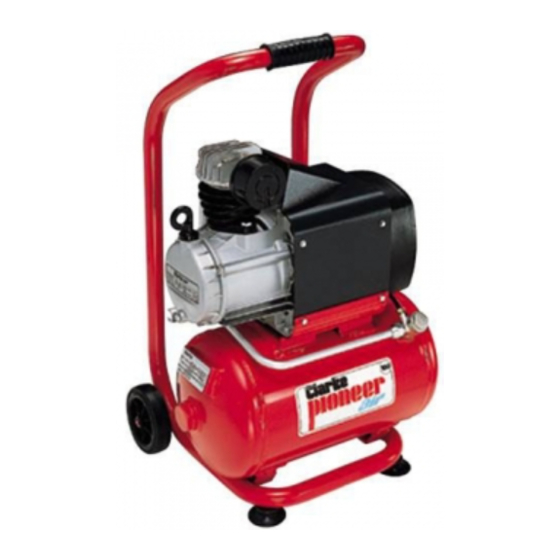
Clarke AIR PIONEER 100 Manuale di istruzioni per l'uso e la manutenzione - Pagina 7
Sfoglia online o scarica il pdf Manuale di istruzioni per l'uso e la manutenzione per Compressore d'aria Clarke AIR PIONEER 100. Clarke AIR PIONEER 100 8.

ACCESSORIES
Your Clarke Pioneer Air Compressor can be used in conjunction with a range of
optional accessories for inflating tyres, air brushing, stapling, blowing and many
other uses. For details contact your local accessory stockist.
A complete kit - Model KIT 1000, illustrated below, is available from your Clarke
dealer which is ideal for almost all applications.
Please quote part number 3110155
A similar kit is available, without the spray gun - Model KIT 600, Part No. 3110150
The accessories are also available separately
Should you experience any difficulties obtaining accessories, please contact the
Clarke sales department (telephone 01992 565300) for details of your nearest dealer.
SPARES AND SERVICING
For Spare Parts and/or Servicing, please contact your nearest dealer, or
CLARKE International as follows:
PARTS & SERVICE TEL: 020 8988 7400
PARTS & SERVICE FAX: 020 8558 3622
or
e-mail as follows:
PARTS: [email protected]
SERVICE:
10
OPERATION
1.
Check that the mains voltage corresponds with that shown on the data sticker
on the crankcase cover of the machine.
2.
Ensure that the ON/OFF knob on the Pressure Switch is pushed DOWN in the
'OFF' (O) position and then switch on at the mains supply.
3.
To start the compressor pull the ON/OFF knob, UPWARDS to the 'ON' (l) position.
NOTE:
Should the motor fail to start
immediately it is probable that
the air receiver is already full of
air. Open the Air Outlet tap, and
trigger the air tool if fited, to
release air and the motor will
start automatically when the
tank pressure is reduced.
4.
Before starting any work
allow the compressor to run
with the air outle cock
completely opened, to
permit a good distribution of
the lubricating oil.
5.
Close the outlet tap.
6.
Connect the air hose and
spraygun, or other air tool,
to the compressor outlet,
preferably using Quick Fit
couplings, readily available
from your Clarke dealer, then re-open the outlet tap.
6.
Set the operating pressure by adjusting the pressure regulator. To do this, turn
the knob - clockwise to increase pressure and anti- clockwise to reduce it.
NOTE:
For normal spraying do not exceed 50 psi (unless following paint manufacturer's
instructions). If other attachments are used, for example a tyre inflating gauge,
staple gun, paraffin gun etc, it may be necessary to set the operating pressure at
a higher (or lower) level. Please refer to the accessory manufacturers'
recommendations for optimum operating pressures for their equipment.
Fig. 6
7
