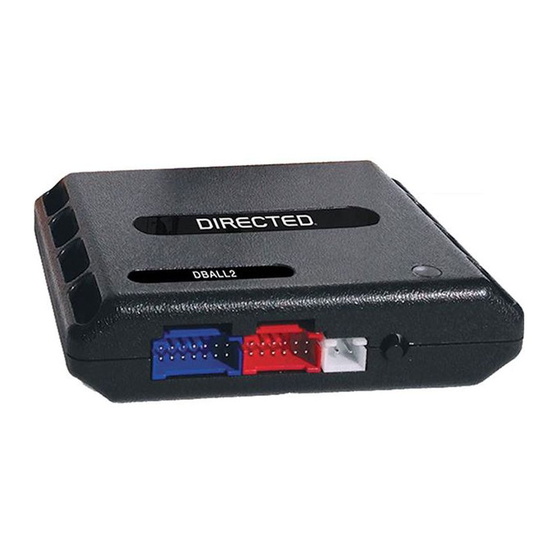
Platform: DBALL2
Firmware: GM6
Feature and Option List
It is recommended to configure all the features and options listed below using the configuration tool found on the module
flashing page on www.directechs.com. The web offers more options; however, manual configuration of the features is
possible using the information on this page.
* Default Option
** The Heated Seat function will only work if this feature is listed in the VAG (Vehicle Application Guide), on page 2.
*** The Cadlliac CTS, Chevrolet Impala and Buick Lucerne requires the Electric Rear Hatch option for the trunk to work.
Features
Operation
1
RF Output Type
Unlock Driver
2
Priority
3
Trunk ***
4
AUX1
5
Heated Seats **
Heated
Seats/Defroster
6
Temperature
Control **
Heated Seats
7
Temperature
Level **
Smart OEM
8
Alarm Control
Flashes / Option
1. No RF Output*
Module is connected to a remote starter using a standard installation.
2. RFTD Output
Module is connected to an XL202 using an RSR or RXT installation (when available).
3. Smart Start
Module is connected to SmartStart using an RSR or RXT installation (when available).
Unlocks only the driver door on first press and unlocks all doors on a second press within
1. Drivier Priority*
5 seconds.
2. All
Unlocks all doors on first press.
1. Trunk*
1. Will pop the trunk if available.
2. Tail Glass Opening /
2. Trunk/Tail Glass: Will pop the trunk or if not available, will pop the tail glass.
Electric Rear Hatch
Electric Rear Hatch: When available, will operate the rear hatch.
1. Trunk*
1. Will pop the trunk if available.
2. Tail Glass Opening /
2. Trunk/Tail Glass: Will pop the trunk or if not available, will pop the tail glass
Electric Rear Hatch
Electric Rear Hatch: When available, will operate the rear hatch.
1. Disabled*
No operation.
2. Enabled
When the feature is enabled, it will activate the Heated Seats and heated steering wheel.
When the Heated Seats feature is enabled, it will activate the heated seats upon remote
1. 32°F (0°C)*
start when temperature is below 32 °F (0 °C).
When the Heated Seats feature is enabled, it will activate the heated seats upon remote
2. 23°F (-5°C)
start when temperature is below 23 °F (-5 °C).
When the Heated Seats feature is enabled, it will activate the heated seats upon remote
3. 41°F (5°C)
start when temperature is below 41 °F (5 °C).
When the Heated Seats feature is enabled, it will activate the heated seats at any
4. Always On
temperature.
1. High*
When Heated Seats are activated, they will be set to HIGH.
2. Medium
When Heated Seats are activated, they will be set to MEDIUM.
3. Low
When Heated Seats are activated, they will be set to LOW.
The OEM alarm will not be controlled by DBALL upon remote start. No disarm or arm
1. Disabled
command will be executed at the beginning or end of the sequence; it must be controlled
by the Remote Starter.
Smart OEM Alarm Control will behave like a standard Safelock feature on a remote
2. Safelock
starter. It will unlock at the beginning of the sequence, and relock after start and
shutdown.
Smart OEM Alarm Control will synchronize with the OEM alarm so that it will disarm and
rearm the vehicle in the remote start sequence, only when required. The reason for this
is, factory alarm control must often be done by lock or unlock operation. This could
create unnecessary actions on door lock modules, such as the horn to honk. When
possible, Smart OEM Alarm Control will monitor the alarm and door lock status to detect
3. Enabled*
if the disarm or rearm is required. If the vehicle is unlocked or is not equipped with factory
alarm, the disarm/rearm will not be executed. Smart OEM Alarm Control will also monitor
the remote starter actions so that the factory alarm control is not done twice. A remote
starter, for which the Safelock feature is active, will work perfectly with this option and will
make it invisible to the user.
Descriptions
© 2015 Directed. All rights reserved.
Rev.: 20151221
Page 12

