Alemite 9968-M Manuale di servizio - Pagina 8
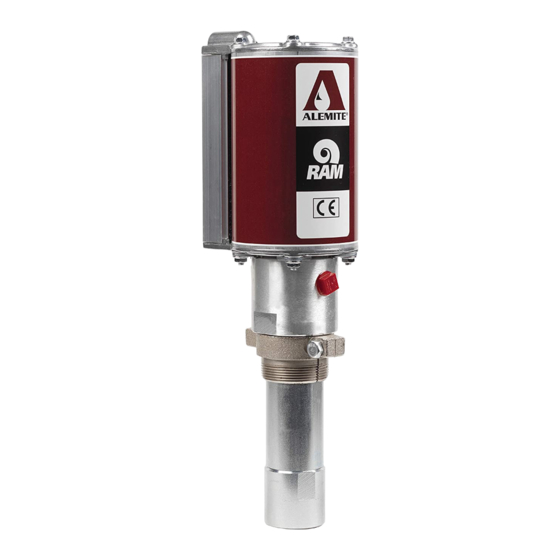
Sfoglia online o scarica il pdf Manuale di servizio per Pompa dell'acqua Alemite 9968-M. Alemite 9968-M 11. Low-pressure stub pump
Anche per Alemite 9968-M: Manuale di servizio (16 pagine)
SER 9968
Refer to Figure 2 Parts List
for Parts Identification
Figure 4 Pump Tube Assembly 338067-B1- Section View
Revision (8-10)
11. Install Ball (17) into the Rod.
IMPORTANT: Do not tighten the
Valve Seat more than 1/4-turn once
it contacts the Ny-lon Piston. Dis-
tortion of the Nylon Piston can
occur which causes excessive drag
on the Tube.
12. Screw Valve Seat (18) [with Loctite 222]
into the Rod. See Figure 2.
• Follow the thread sealant manufacturer's
recommendations.
Install the Rod into the Body with a twist-
ing motion. Use care not to damage the
Seals.
13. Install the Rod assembly into the bottom of
the Body.
• Position the Nylon Piston flush with the
bottom of the Body.
14. Install Back-Up Ring (20) [concave upward]
onto Tube (21).
15. Install O-Ring (19) on top of the Back-Up
Ring.
16. Screw and seat the Tube assembly into the
Body.
• Make sure both Rings are not visible.
Step for Model 9968 and 9968-M Only
17. Slide Bung Adapter (22) onto the Tube.
18. Screw the Foot Valve assembly into the
Tube.
• Tighten the Foot Valve assembly securely
to the Tube and the Tube to the Body.
Air Piston
19. Install Quad-Ring (6) onto Air Piston (4).
20. Install and seat O-Ring (5) into the bottom of
the Air Piston.
21. Place the Air Piston [observe THIS SIDE
UP) on top of the Rod.
22. Install Screw (2) and Washer (3) that secures
the Air Piston to the Rod.
• Tighten the Screw to 15 ft.-lbs. (20.7 Nm).
8
Low-Pressure Stub Pump
CAUTION
Alemite, LLC