Clarke CAT33B Istruzioni per il funzionamento e la manutenzione - Pagina 2
Sfoglia online o scarica il pdf Istruzioni per il funzionamento e la manutenzione per Strumenti Clarke CAT33B. Clarke CAT33B 4.
Anche per Clarke CAT33B: Istruzioni per il funzionamento e la manutenzione (13 pagine)

SAFETY PRECAUTIONS
IMPORTANT
Failure to follow these precautions could result in
personal injury, and/or damage to property.
1.
ALWAYS wear approved impact resistant safety
goggles. (Eye glasses are NOT safety glasses).
2.
ALWAYS disconnect the tool when not in use,
before changing accessories and before carrying
out any maintenance
3.
ALWAYS have trigger in the OFF position when
connecting to an air supply.
4.
ALWAYS keep a safe distance between yourself
and other people when using the tool.
5.
Maintain the tool with care. Keep it clean for
best and safest performance.
6.
Quick change couplings should not be
located at the tool. They add weight and
could fail due to vibration.
AIR SUPPLY
Tools of this type, operate on a wide range
of air pressures. It is recommended that
air pressure to this tool does not exceed
90 PSI, at the tool when running. Higher
pressure and unclean air, will shorten the
tools' life because of faster wear, and
could be a safety hazard.
Water in the air line will cause damage to
the tool, ensure it is properly maintained
at all times.
The recommended procedure to connect
this tool to an air supply, is shown at fig. 1.
The air inlet used for connecting air supply,
has a standard ¼" BSP thread.
Line pressure, or hose inside diameter, should be increased to compensate for unusually long air hoses
(over 25 feet). Minimum hose diameter should be 5/16" (8mm) ID., and fittings should have the same
inside dimen.sions.
OPERATION
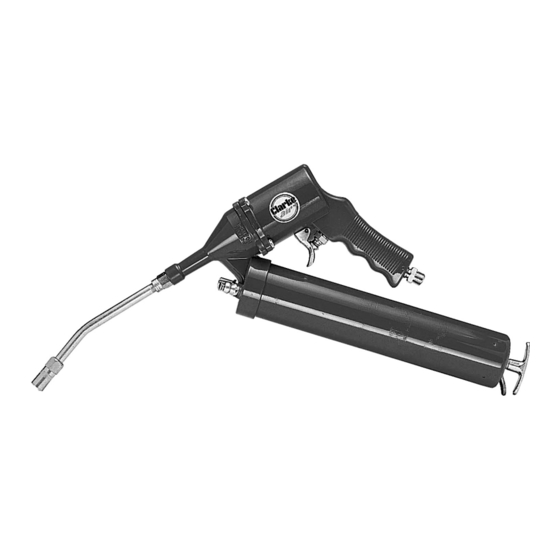
Ensure the air supply is disconnected before filling the grease chamber.
1.
Unscrew and remove the grease chamber complete.
2.
Enter a grease cartridge (available from your Clarke dealer), into the open end of the grease chamber,
then gently and progressively pull the piston rod (19) out fully, against spring pressure, whilst guiding the
cartridge into the chamber. Lock the piston Rod in place using the locking plate (21).
3.
Clean the edge of the chamber before screwing back on to the body of the gun.
4.
Release the piston rod by pressing the locking plate.
5.
Open the Air vent valve (10) to expel any air in the chamber, and close again when solid grease is
expelled.
7.
DO NOT over-reach. Keep your proper footing
and balance at all times.
8.
DO NOT force or misuse the tool. It will do a
better and safer job at the rate for which
it was designed.
9.
DO NOT abuse hoses or connectors. NEVER
carry a tool by the hose, or yank it to
disconnect from the air supply. Keep hoses
away from heat, oil and sharp edges.
Check hoses for weak or worn condition
before use, and ensure that all connections
are secure.
10. DO NOT exceed 90 PSI at the tool.
11. DO NOT modify the tool in any way.
