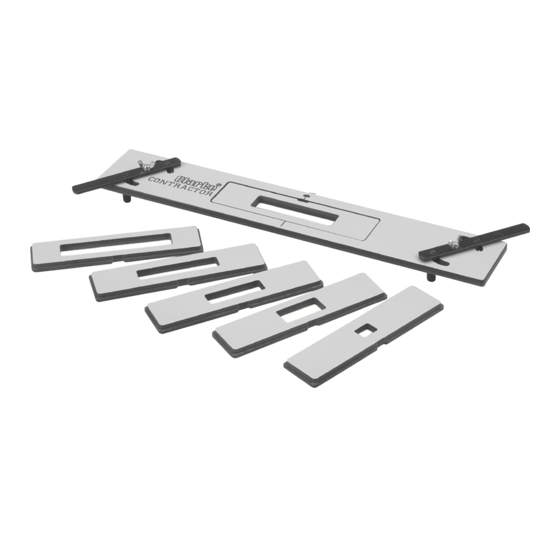
Clarke CONTRACTOR 6462122 Manuale di istruzioni per il funzionamento e la manutenzione - Pagina 7
Sfoglia online o scarica il pdf Manuale di istruzioni per il funzionamento e la manutenzione per Strumenti Clarke CONTRACTOR 6462122. Clarke CONTRACTOR 6462122 8. Lock jig

Fig. 7
1. Set the router to cut to the thickness of the lock plate + the lock body plate.
2. Position the router onto the jig ensuring the cutter is not touching. Switch the router ON
and plunge to the full preset depth and rout in a clockwise direction until the recess is
completely cut. Switch the router OFF and wait for it to come to a full stop before
lifting it from the jig.
3. Loosen the insert securing screw and remove the insert, DO NOT move the nesting
plate. Square out the recess corners using a sharp chisel.
4. Fit other insert with smaller aperture (lock body) into the nesting plate and secure in
position with locking screw.
5. Set the router to plunge to a maximum depth of 10mm, position the router on the jig as
before. Switch ON and plunge to the full preset depth and rout in a clockwise direction
until the recess is completely cut. Switch the router OFF and wait for it to come to a full
stop before lifting it from the jig.
6. Increase the depth of cut a further 10mm and repeat step 5.
7. Continue to repeat steps 5 & 6 until the required depth is reached, IMPORTANT never
exceed 10mm depth of cut.
8. When the required depth is achieved, switch the router OFF, wait for it to come to a
complete stop, remove the router and store safely.
9. Loosen the insert securing screw and remove the insert, square off the recess corners
using a sharp chisel.
Select the correct pair of
inserts for the lock to be fitted.
Fit the Insert with the largest
aperture (lock plate) into the
nesting plate and secure in
Fig. 7a
place with locking screw (Fig.
7 & 7a), ensure the insert sits flat
in the nesting plate.
-6-
