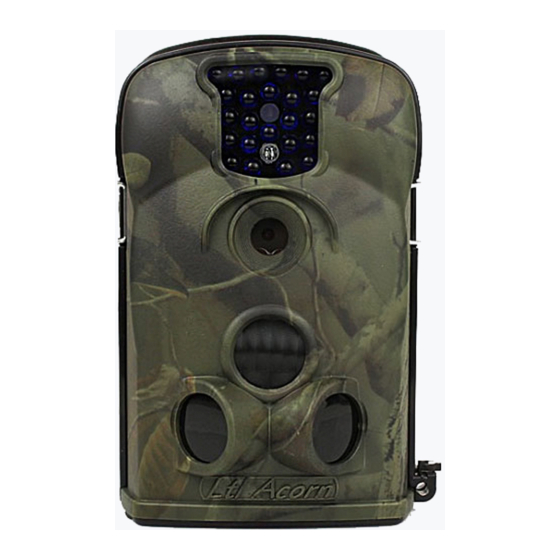
Acorn 5210A Manuale di avvio rapido
Sfoglia online o scarica il pdf Manuale di avvio rapido per Telecamera per lo scouting Acorn 5210A. Acorn 5210A 8.

Remove any PIR sensor protectors before using your camera.
Open the hatch at the base of the camera & insert an SD Card (class 10, 16G max) and AA batteries
(at least 4). The camera can hold a maximum of 8 batteries so you can choose to add an extra 4 in
the back pack should you wish to - this would give your camera longer running time in the field.
Please read the section later in these pages about which batteries to use, battery choice is vital
to the performance of your Ltl Acorn trail camera and batteries are always the first place to
Carefully remove back plate from camera body using the clips on each side and hand-tightening
screw on the back. The safest way to do this to avoid putting unnecessary stress on the side clips is
to hold the 2 parts of the camera together firmly with one hand whilst releasing the clips, one at a
Move the ON/OFF/TEST switch on the bottom of camera to the TEST position.
The LCD screen will come on (will go straight off again if you have not inserted a compatible SD
Push the MENU button & use the arrow keys to select & change settings.
Remember to push OK button after each setting change to save it.
Move the ON/OFF/TEST switch to the ON position, the LCD screen will now switch off & the
camera is now ready to start recording whenever motion/heat change is detected. You will see a red
light blink on the front of the camera for about 10 seconds after switching the camera into ON
mode, this is to give you time to move out of the sensor range to avoid recording yourself.
Close bottom hatch & re-fit back plate before putting camera in chosen location. Use the side clips
and the screw on the back to best seal the camera from the elements. The screw also takes some of
Safe fitting of the main camera body to the back battery compartment:
With the back battery compartment facing towards you, take the main camera body and make sure
the left hand slide lug slots into place first followed by the right side lug. Then, whilst holding the
two camera parts together firmly, carefully close each of the side clasps.
Take extra care when unclasping if the camera has been outside during very cold and freezing
conditions as that can make the plastic lugs and side clips a little more brittle.
Ltl Acorn 5210A Trail Camera
warranty card (for your own records)
Set Up & Recording:
start if you think there is a problem with your camera!
time, with the other.
the strain off the side clips.
Then hand tighten the screw on the back.
Box contents:
trail camera
strap
these instructions
card).
