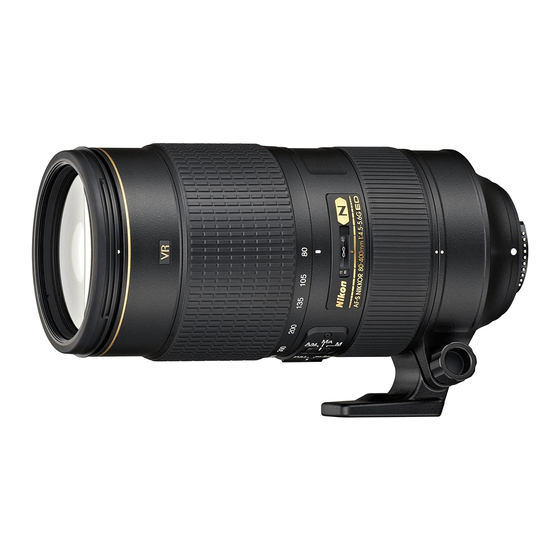
Nikon AF VR Zoom-Nikkor 80-400mm f/4.5-5.6D ED Manuale di istruzioni - Pagina 4
Sfoglia online o scarica il pdf Manuale di istruzioni per Obiettivo della fotocamera Nikon AF VR Zoom-Nikkor 80-400mm f/4.5-5.6D ED. Nikon AF VR Zoom-Nikkor 80-400mm f/4.5-5.6D ED 22. Nikon d200: product brochure
Anche per Nikon AF VR Zoom-Nikkor 80-400mm f/4.5-5.6D ED: Opuscolo e specifiche (18 pagine)

I
Using the focus limit switch (Fig. B)
In the autofocus or manual focus mode, depending on the shooting distance, you can
use this switch to limit the range of focus and reduce focusing time. The focus limit
switch cannot be set at aposition between approx. 3.5m (11.5 ft.) and 5m (16.4 ft.).
Position
Shooting distance
LIMIT
Approx. 2.3m (7.5 ft.) to 15m (11.5 ft) or
Approx. 5m (16.4 ft.) to infinity (00)
FULL
Approx. 2.3m (7.5 ft.) to infinity (00)
Vibration reduction mode (Fig. C)
The following cameras are usable:
- 35mm SLR cameras: F6, F5, F100, F80-Series/N80-Series, F75-Series/N75-
Series, F65-Series/N65-Series
- Digital cameras: 03, 0700, 02-Series, 01-Series, 0300, 0200, 0100, 080,
070-Series, 060, 050, 040-Series
When using the lens with cameras other than those listed above, set the vibration
reduction mode switch to OFF to cancel the vibration reduction mode.
With the Pronea 600i/6i camera, in particular, battery power may become depleted
quickly if this switch is left ON.
Setting the vibration reduction mode switch
Mode 1
Vibration is reduced at the instant the shutter is released and also while
ON.J:h..o.
the shutter release button is lightly pressed. Because vibration is reduced
in the viewfinder, auto/manual focusing and exact framing of the subject
are easier.
Mode 2
Vibration is reduced only at the instant the shutter is released. In this
ON .J:h
mode, vibration of the image in the viewfinder is not reduced while the
shutter release button is pressed lightly.
OFF
Vibration is not reduced.
-In Mode 1and Mode 2, wait at least one second before fully depressing the shutter
release button after lightly pressing the shutter button. In Mode 1, it's recommended to
release the shutter after the image in the viewfinder has stopped vibrating.
- The vibration reduction mechanism reduces camera shake. However, if you move
the camera quickly, vibration in the direction of that movement may not be affected.
For example, if you pan the camera horizontally, only vibration in the vertical
direction is reduced, making smooth pans much easier.
- Characteristic of the vibration reduction mechanism, the image in the viewfinder
may blur after releasing the shutter.
16
- Do not turn the camera power OFF while the vibration reduction mode is in
operation. Otherwise the lens may emit achattering noise when it is moved quickly.
This is not amalfunction. Turn the camera power ON again to correct this.
-If the lens is removed from the camera while the vibration reduction mode is in
operation, the same thing may happen as stated above. Mount the lens and press
the shutter release button halfway to eliminate the chattering noise.
- When the shutter release button is lightly pressed, the vibration reduction mode
I
does not work with cameras such as F80-Series/N80-Series or 0100 while the
camera's built-in Speedlight is recycling.
- When the lens is mounted on atripod, set the vibration reduction mode switch
to OFF. Set the vibration reduction mode switch to ON, when using amonopod or if
the lens is mounted on atripod without the head being locked in place.
- This mode may be less effective when pictures are taken from amoving vehicle.
- The vibration reduction mode does not work when the AF start (AF-ON) button is
turned on with cameras so equipped.
Focusing, zooming, and dl!J!th of field
(Refer to Quick reference charts
0
and
D
on page 72.)
In the A (autofocus) mode, first turn the zoom ring until the desired composition is
framed in the viewfinder before autofocusing. In the
M
(manual focus) mode,
focusing is possible at any focal length, but the longer the focal length, the larger the
image and the shallower the depth of field, making focusing easier. If your camera
has adepth of field preview (stop-down) button or lever, depth of field can be
observed while looking through the camera viewfinder. It is possible to determine
depth of field by using the scale provided on page 72.
To use the depth-of-field scale:
1 Cut out the scales along the lines indicated.
2 Place scale
D
over scale
0
so the top edge of scale
D
is aligned with the
focal length in use and the distance is aligned with the central indicator line of
scaleD.
3 Read the scale
D
numbers that correspond to the aperture in use,
For example, if the lens is focused at 4m with the focal length at 105mm and the
aperture at f/22, the depth of field wi II be approx. 13m to 5.5m (10.8 to 18 ft.).
- The distance scale does not indicate the precise distance between the subject and
the camera. Values are approximate and should be used only as ageneral guide.
Minimum aperture lock (Fig. D)
Use the minimum aperture lock lever to lock the lens aperture at f/32.
1 Set the lens to its minimum aperture (f/32) by aligning it with the aperture index.
2 Slide the lock lever toward the aperture ring, so the two orange dots are aligned.
To release the lock, slide the lever in the opposite direction.
17
