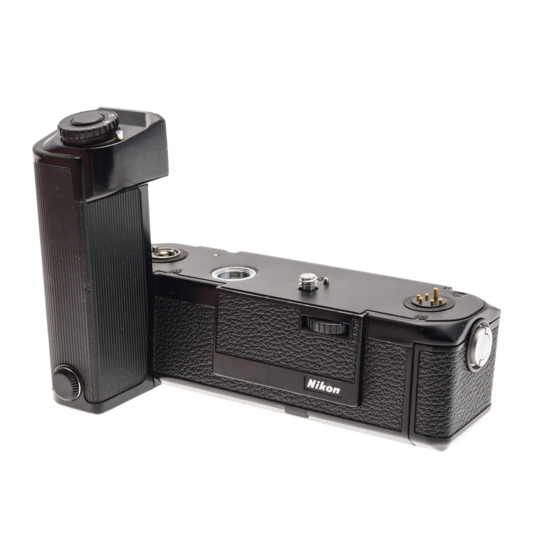
Nikon MD-11 Manuale di istruzioni - Pagina 6
Sfoglia online o scarica il pdf Manuale di istruzioni per Camera Accessories Nikon MD-11. Nikon MD-11 18. Motor drive
Anche per Nikon MD-11: Manuale di istruzioni (48 pagine), Manuale di istruzioni (19 pagine), Manuale di istruzioni (20 pagine)

ATTACHING THE MOTOR DRIVE
Mounting the MD-12 on your camera is simple; the unit has
been designed such that it can be attached or removed at any
time regardless of whether or not the camera is loaded with film.
Before attaching the MD-12, make sure that its power switch is
turned off. Then, position the motor drive on the camera's bot-
tom plate, its handgrip should be at the same end of the camera
as the film advance lever. Ensure that the raised ring around the
drive shaft is correctly seated inside the locating collar, coaxial
with the camera's film advance coupling. Then, fasten the mo-
tor drive's attachment screw, turning it clockwise by means of
the thumb wheels on either side. Simultaneous use of both fore
finger and thumb will speed up attachment. Make sure there is
no gap between the motor drive and the camera body; then
tighten the attachment screw firmly.
When the MD-12 is mounted on an FM camera (Serial No. be-
low 3,000,000) *, the camera's mode selector switch around the
shutter release button should be set to "M" (motor)—the red
line on the selector being aligned with the line on the camera
body. This is not necessary with FM cameras (Serial No. over
3,000,000)* or the FE, because the switchover from manual film
advance to motor drive operation is made electronically and
automatically when the motor drive is switched on. Then, turn
the motor drive's power switch to "ON." If the film has been
advanced prior to attaching the motor drive, the motor drive
