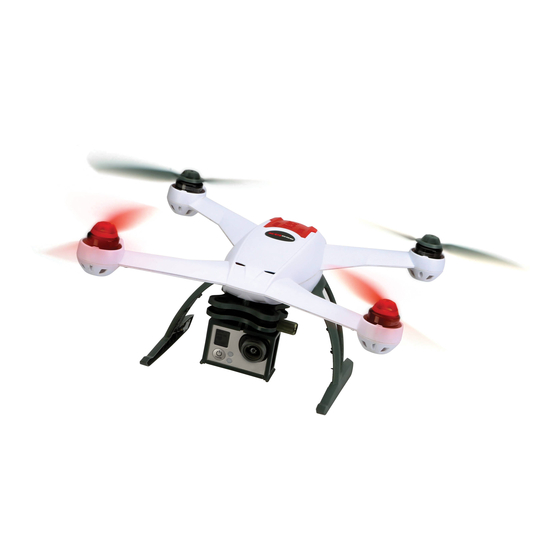
Blade 350 QX Manuale di avvio rapido
Sfoglia online o scarica il pdf Manuale di avvio rapido per Quadcopteri Blade 350 QX. Blade 350 QX 13. 350 qx firmware 2.0 update

Blade
®
350 QX Firmware 2.0 Update and Quick-Start Guide
This Blade 350 QX has been updated with Firmware 2.0 to provide the best experience. This slipsheet covers the updates and includes a new Quick-Start Guide.
New Start Procedure
There are now two options to start the motors:
Original Procedure: At zero throttle, move the rudder stick full left, then full right, then back to center.
New Procedure: Move both sticks into the bottom inside corners, then back to center.
New Flight Mode Confi guration
Smart Mode (Solid Green LED = GPS Lock, Blinking Green LED = No GPS Lock): Stick Relativity, SAFE Circle
AP Mode (Solid Purple LED = GPS Lock, Blinking Purple LED = No GPS Lock): Altitude and GPS Lock with soft Self-Leveling
Stability Mode (Solid Blue LED = GPS Lock, Blinking Blue LED = No GPS Lock): Self-Leveling, GPS Lock
*Agility Mode (Red LED): Only available with Spektrum
New Compass and GPS Error Detection
The Firmware 2.0 update prevents GPS and compass errors from causing adverse fl ight conditions. The status LED blinks orange if the compass senses a magnet or metal object
nearby. When the status LED blinks orange, follow the Compass Calibration instructions found in the full manual online at www.horizonhobby.com.
New Charger
This version comes with a new 12V DC accessory charger that plugs into a 12V auxiliary power port, like the one found in your car. This charger functions exactly the same as the
original charger but has a 12V DC accessory power connector instead of D C alligator clips.
Quick-Start Guide
WARNING: This quick-start guide is only intended to cover the basic operation of the 350 QX in Smart Mode. For a complete description of the function,
capabilities and maintenance of the Blade 350 QX, please see the full manual online at www.horizonhobby.com.
Box Contents
®
• Blade
350 QX Firmware 2.0
• Camera Mount
• 3S 11.1V 2200mAh Li-Po Battery Pack
• 2–3S DC Li-Po Balancing Charger
®
• DX5e DSMX
5-Channel Transmitter (RTF only)
• 4 AA Batteries (RTF only )
Charging the Flight Battery
1. Connect the charger to an appropriate 12V DC auxiliary power port. A beep
sounds and the green LED blinks.
2. Turn the control on the amps selector so the arrow points to 2.0 amps.
DO NOT change the charge rate once the battery begins charging.
3. Move the cell selector switch to 3-cell.
4. Connect the balancing lead of the battery to the 3-cell (4 pin) charger port
and press the Start button to begin battery charging.
5. The red LED blinks, indicating charging. When the battery nears full charge,
the red and green LEDs blink, indicating cell balancing.
6. Disconnect the battery when a beep sounds and the green LED glows solid.
7. Install the fl ight battery (see illustration).
® ®
™
DX6i or higher transmitters (Endpoint adjustment is necessary)
Install the battery
™
feature, Altitude and GPS Lock and Self-Leveling
4
2
3
1
EN
