Discount Car Stereo A2DIY-GM3X Manuale di installazione rapida - Pagina 2
Sfoglia online o scarica il pdf Manuale di installazione rapida per Sistema stereo per auto Discount Car Stereo A2DIY-GM3X. Discount Car Stereo A2DIY-GM3X 8. For gm class ii with xm tuner module

PRODUCT SAFETY & DISCLAIMER
READ ALL INSTRUCTIONS CAREFULLY BEFORE INSTALLING, FAILURE TO DO SO MAY CAUSE
PERSONAL INJURY OR DAMAGE TO PRODUCT AND/OR PROPERTY
•
This installation guide is provided as a GENERAL installation guide, some vehicles vary and
may require additional steps. We do not accept responsibility for third party labor charges
or modifications. Exercise due-diligence when installing this product.
•
We do not accept any responsibility for vehicle damage or personal injury resulting from
the installation of this product.
Careless installation and operation can result in equipment damage
Introduction
(Newest version 4.25)
The A2DIY-GM3x kit is compatible with virtually all Bluetooth phones, and sounds
great whether using for mobile conversations, streaming music or retaining XM
(if subscribed), The A2DIY-GM3x works in 2003-12 GM Class-II vehicles equipped
with an XM tuner module (See Fig. 18) regardless of subscription status. If
subscription has expired, an AUX input jack is provided for users to connect and
play portable audio devices such as MP3 players, iPod etc. If subscription is
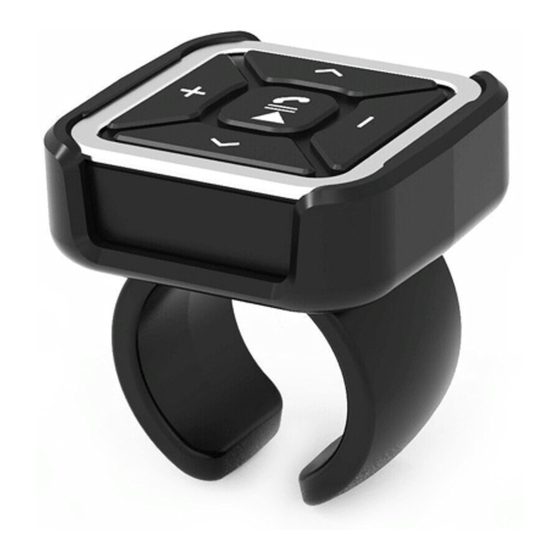
"Active" it remains operational. A new media bottom (remote) is included from
which users can adjust smartphone volume, track selection and more and
optional Smart USB charging kit is available to charge those power-hungry
devices while on the road. The A2DIY-GM3x adds Bluetooth features to older
GM vehicles with XM tuner module – must have the Tuner seen in Fig. 18
Warning: Vehicles without XM Tuner module may purchase our
A2DIY-GM3
instead.
See Frequently Asked question at the end of this guide for more details.
Installation
Radio removal required (Vehicle specific radio removal instructions are not part
of this guide, but may be available upon request)
1. Disconnect 12-pin plug from radio by squeezing blue lock tabs (See Fig. 1)
factory 12-pin plug
2.
Connect factory 12-pin plug to harness 12-pin connector (See Fig. 2)
3.
Connect harness 12-pin plug (See Fig. 3) to radio
harness 12-pin plug
Fig. 1
Fig. 2
Fig. 3
