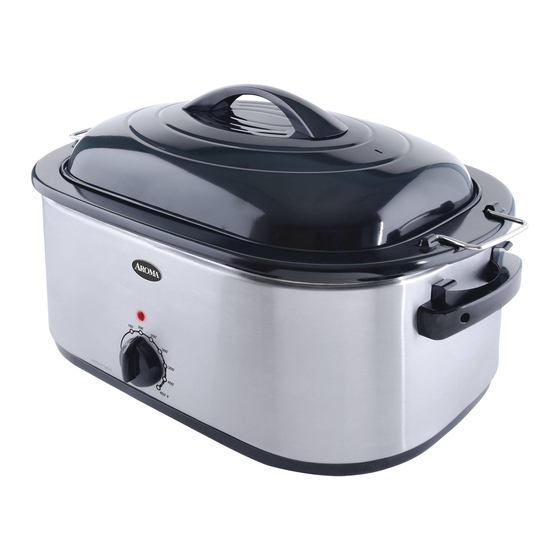
Aroma ART-722SB Manuale di istruzioni - Pagina 5
Sfoglia online o scarica il pdf Manuale di istruzioni per Forno Aroma ART-722SB. Aroma ART-722SB 10. 30-quart whole meal roaster oven

BEFORE FIRST USE
1. Read all instructions and important safeguards.
2. Remove all packaging materials and check that all items have been received in good condition.
3. Tear up all plastic bags and dispose of properly as they can pose a suffocation or choking risk to children.
4. Wash the removable lid and all other accessories in warm, soapy water. Rinse and dry thoroughly.
5. Remove the enameled cooking pan from the roaster oven and clean with warm, soapy water. Rinse and dry thoroughly before returning to roaster.
6. Wipe body clean with a damp cloth.
PREHEATING YOUR ROASTER OVEN
Due to the manufacturing process, slight smoke and odor may be emitted during the first
use, which is normal. We RECOMMEND preheating the roaster oven prior to the first use in
order to eliminate the smoke and odor.
1. Ensure the temperature control dial is set to the "OFF" position and plug into a 120V AC outlet.
2. Preheat the oven for 30 minutes at 400ºF, or until smoke and/or odors have completely dissipated. To preheat, turn the temperature control dial to
400ºF,the indicator light will illuminate while the roaster oven is preheating. Once the selected temperature is reached, the indicator light will blink to
indicate that the proper temperature is being maintained.
3. Turn the temperature control dial to the "OFF" position, remove the plug from the wall outlet and allow the unit to cool.
• Premade or frozen items can be heated in the roaster oven. Follow package directions for temperature and time.
HELPFUL
HINTS
6
USING YOUR ROASTER OVEN
HOW TO USE
1. Place the enameled cooking pan into the oven body. Place the lid on
the enameled cooking pan.
2. Set the temperature dial to the "OFF" position.
3. Plug in the power cord.
4. Preheat the roaster oven to the desired temperature.
5. Once the oven has reached the desired temperature, carefully
remove the lid and place it on the convenient lid holder (see "Figure A"
to the right for details). Next, carefully place the roasting/steaming
rack into the enameled cooking pan, place food on the center of the
roasting/steaming rack. Replace lid.
6. Once the food has reached the desired doneness, turn the
temperature control dial to the "OFF" position and unplug.
• The indicator light will shut off when the oven has reached the selected temperature. During operation the light
will turn on and off to indicate that the proper temperature is being maintained.
• Always preheat the oven, unless the recipe specifies otherwise.
HELPFUL
• Repeatedly removing the lid will result in a loss of heat and steam and may result in increased cooking time.
HINTS
• If adding liquid, for example broth, to enhance flavor do so during the last 30 minutes of cooking.
• Since the thickness and condition of meat may vary, check the meat 10 to 15 minutes before the
recommended finishing time to ensure best results.
• Use a meat thermometer to measure internal meat temperature toward the end of the cooking cycle.
Please remember that pork and poultry should always be cooked to well done.
Fig. A
• The lid holder offers a safe and
convenient way to rest the roaster
oven's lid.
• With the handle of the lid facing
down, attach the end of the lid down
to two hooks located directly above
the roaster oven's handles.
7
