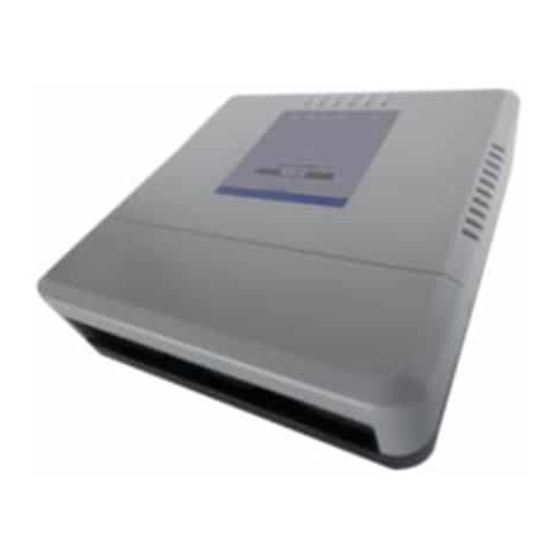
DISIBEINT deHUB Manuale di installazione rapida - Pagina 3
Sfoglia online o scarica il pdf Manuale di installazione rapida per Porta d'ingresso DISIBEINT deHUB. DISIBEINT deHUB 4.

Guía de instalación paso a paso / Step by step installation guide
1 Montaje / Montage
•
Introduzca su mano en la parte inferior de la carcasa y tire hacia arriba para sacar la protección
de la zona de conexionado.
Enter your hand at the bottom of the case and pull up to remove the connection zone protection.
•
Quite los 2 bornes, coloque el dispositivo sobre una superficie plana a instalar, marque los 2 agujeros y
fije el dispositivo.
Remove the connectors, put the device on the installation plane surface, mark the holes and attach the
Remove the connectors, put the device on the installation plane surface, mark the holes and attach the
device.
2 Alimentación y señal/ Power and signal
•
Conecte los bornes L y N del gateway a una toma de corriente.Saque el cableado
la carcasa o por los agujeros de la parte posterior de ésta.
Connect the plugs L and N to a power outlet. Lay the cables through the bottom of the case or use the
case back holes.
•
Una vez esté alimentando el equipo, debe comprobar que los leds CPU y Módem
Once the device is powered, check that the CPU and Modem leds start to blink.
Once the device is powered, check that the CPU and Modem leds start to blink.
•
El registro del equipo a la red 2G/3G puede tardar entre 1 y 5 minutos, dependiendo de la cobertura, y
habrá finalizado cuando el led de Módem se mantenga fijo (revisar la tabla de codificación led para más
información).
The device register to the 2G/3G network may take between 1 and 5 minutes depending on the
coverage. The process will have finished when Modem led stop blinking (review the led codification table
coverage. The process will have finished when Modem led stop blinking (review the led codification table
for more information).
arriba para sacar la protección
through the bottom of the case or use the
CPU y Módem empiezan a parpadear.
tardar entre 1 y 5 minutos, dependiendo de la cobertura, y
fijo (revisar la tabla de codificación led para más
d 5 minutes depending on the
connection zone protection.
instalar, marque los 2 agujeros y
cableado por la parte inferior de
