displayit Graffiti Plus Istruzioni per il montaggio - Pagina 4
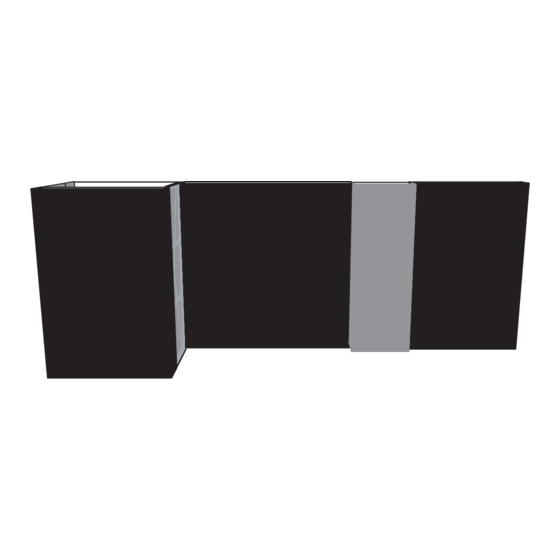
Sfoglia online o scarica il pdf Istruzioni per il montaggio per Monitor displayit Graffiti Plus. displayit Graffiti Plus 4. 10x20 inline display kit a
Anche per displayit Graffiti Plus: Manuale di istruzioni per il montaggio (13 pagine)

Silicone Edge Graphic (SEG) Fabric Installation Instructions
Caution! Installing silicone-edged graphics is techniqe sensitive;
Practice will shorten installation time.
Pulling on the silicone welt during installation stretches the silicone and
creates a bulge in the silicone welt that is difficult to correct smoothly.
1. Start tucking the graphic in one corner.
If your graphic has endcaps, start tucking
where the silicone welt begins.
2. Tuck the graphic in several places across the top channel bar.
Note: The silicone will be notched at the seam between frames.
Locate the notches and make sure they are aligned with the seams.
Optional endcaps
remain loose until
step 6
3. Tuck bottom corners and several
places across the bottom of the frame.
Stitched edge
goes in first
SEG
groove
Start in
the corner
How to Install SEG Graphics:
Turn and tuck the side of the graphic with the silicone welt into the SEG groove.
The stitched ege goes into the groove first.
INCORRECT
Pull
Press While
Sliding Hand
Installing Graphics with Wrap-Around Endcaps
displayit.com
800.207.0311
Graffiti:Plus 20' Backlit Display
Assembly Instructions Page
Silicone
Bulge
Tuck
A series of tucks reduces excess silicone.
4. Complete top and bottom installation.
5. Wrap endcaps around the frame
and tuck into the side channels of the
rear channel bars and the horizontal
channels of the endcap channel bars.
After-Hours Emergency: Call or Text 678.723.5343
Handle graphics with care with clean hands in a
clean environment. Clean cloth or latex gloves
are recommended.
CORRECT
Tuck
Tuck
Gra ti:Plus V.2 Updated 10/10/2019
4
