Displays2go THANK YOU Trash Receptacle Bin Istruzioni per il montaggio
Sfoglia online o scarica il pdf Istruzioni per il montaggio per Arredamento per interni Displays2go THANK YOU Trash Receptacle Bin. Displays2go THANK YOU Trash Receptacle Bin 2.
ASSEMBLY INSTRUCTIONS
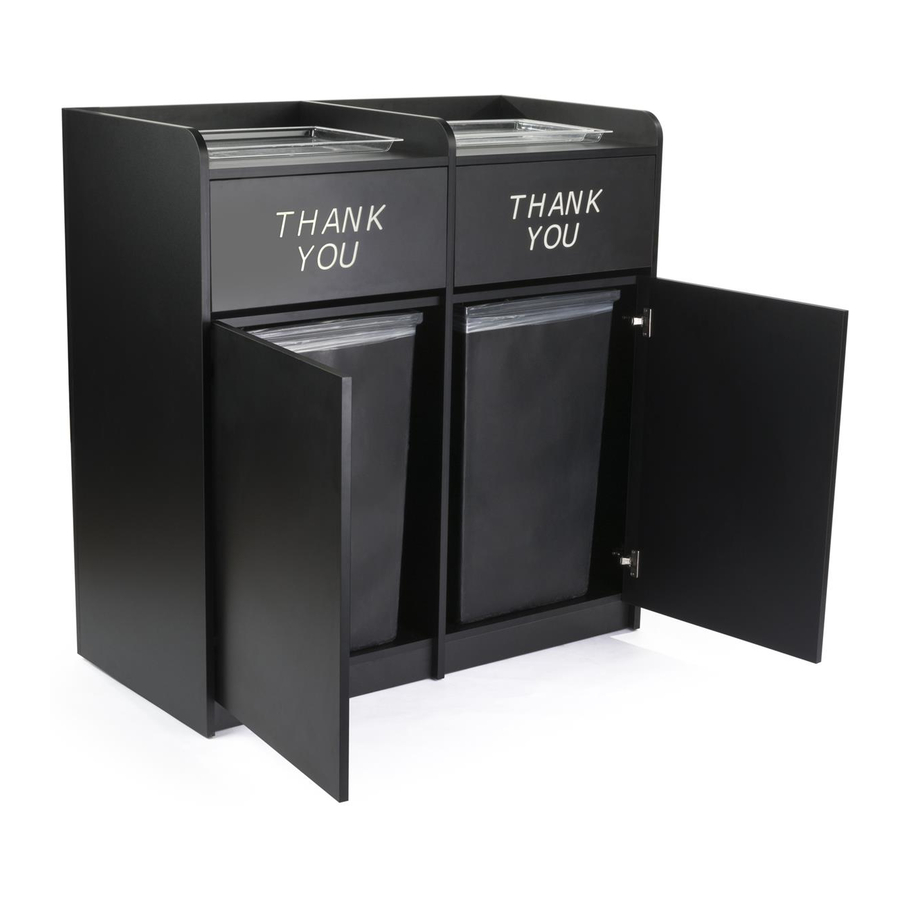
TRASH RECEPTACLE - "THANK YOU" & RECYCLING
PARTS
A
Top Panel
B
Side Panel
C
Bo�om Panel
D
Back Panel
E
Shelf
F
Toe Kick Panel
G
Swing Door
g
"THANK YOU" Flip Door
H
Divider Panel
ATTENTION: Unpack the unit and confirm all hardware are present. If any hardware required is missing, or if you have any
ques�ons regarding our products, please contact D2G customer service.
Assemble the unit on a carpeted floor or on a so� surface work area to avoid any scratch.
1. Insert 2 cam posts (H2) into holes in Panel C. Tighten only un�l
snug. Fit cam holes in the edge of Panel F over the cam posts. Insert
2 cam locks (H1) into cam lock holes on Panel F, use a phillips screw
driver to turn cam locks clockwise to secure cam posts. A�ached
the other Panel F to 2nd Panel C the same way.
H1
Cam Lock
2. Insert cam posts into holes in Panel B as shown below. The Middle Panel B has holes on two sides, insert cam posts into both sides.
Place Panel A, E, g, H and assembled Panel C as shown below. Star�ng from a Side Panel B by laying it on a flat surface, a�ach all joining
panels by fi�ng cam holes in the edges with corresponding cam posts. Insert cam locks into all cam lock holes in adjoining boards, then
�ghten all cam locks with a screw driver. Assemble the Middle Panel B and the remaining panels in the picture the same way. Be sure to
a�ach the smaller Panel A above Panel E.
Ver. 03/18
2pcs
H1 Cam Lock
3pcs
H2 Cam Post
2pcs
1pc
H3 Wood Screw
1pc
2pcs
H4 Concealed Hinge
2pcs
1pc
NOTE: A phillips screw driver is needed. 2 people recommended.
1pc
How to join 2 boards with CAM lock:
(a) Insert cam post into flat surface of a board. Fit the hole in the
edge of the joining board over the cam post.
(b) Each cam lock has an open sec�on at the back. Insert the cam
lock into the cam Be sure the opening fits the head of the cam post.
(c) Use a screw driver to turn the cam lock clockwise so it locks onto
the head of the cam post. Do not over �ghten.
H2
Cam Post
(a)
HARDWARE
54pcs
54pcs
24pcs
4pcs
(b)
(c)
1 of 2