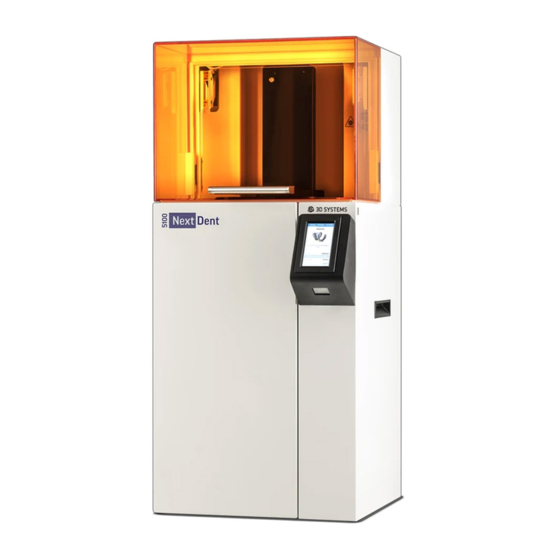
3D Systems NextDent 5100 Impostazione
Sfoglia online o scarica il pdf Impostazione per Apparecchiature dentali 3D Systems NextDent 5100. 3D Systems NextDent 5100 4.

NextDent
Please see the NextDent 5100 User Guide, found at support.3dsystems.com/nextdent-5100, for safety informa-
tion and comprehensive operating instructions.
Save all foam and packing material for future use. Shipping without the original packing material may
cause damage to the printer.
1. Mix Resin/Unbox and Stage Printer
1
LC-3DMixer sold sep-
arately from printer
CAUTION:
Insufficiently mixed
material may result in
build failure.
1.
Before unpacking anything, we recommend placing resin
bottle(s) on LC-3DMixer for time specified on resin bottle.
Mixing times for new bottles can be up to 2 hours.
2.
Remove 4 packing clips around the bottom of the printer.
3.
Lift outer box to remove. Ensure your ceiling clearance is
at least 2.6m (8.5 ft) to lift this box off.
4.
Remove accessories box. Compare contents of box to list
2. Unbox Optional Pedestal
1
4
5
1.
Cut box top open. Remove two pieces of packing foam from top of pedestal.
2.
Remove plastic sleeve from the pedestal.
3.
Grab pedestal with one hand by rectangular hole in middle and lift out of
box.
4.
Remove tape from all four casters.
5.
Stage pedestal on a level floor and remove the blue tape from the door.
6.
Open door and remove tape and cardboard spacer.
®
5100 Setup
2
2
3
6
3
4
6
in the
Welcome Letter
5.
Remove documentation, foam pieces and plastic sleeve
simultaneously (they are taped together).
6.
If you have the optional pedestal, go to Section
3. If not, team-lift printer onto a level surface
and go to Section 7.
7.
Remove desiccant pack.
3. Place Printer on Pedestal
in top of pedestal. Ensure you install
printer in orientation shown, with
front of printer lining up with front of
pedestal.
5
7
to ensure everything is included.
PINCH HAZARD: Keep
fingers/hands clear of
gap between printer and
pedestal.
Team-lift printer onto
pedestal, fitting four rubber
printer feet into four holes
