Camfil FB Series Manuale di installazione, funzionamento e manutenzione - Pagina 15
Sfoglia online o scarica il pdf Manuale di installazione, funzionamento e manutenzione per Sistemi di filtrazione dell'acqua Camfil FB Series. Camfil FB Series 20. Fluid seal bag-in/bag-out

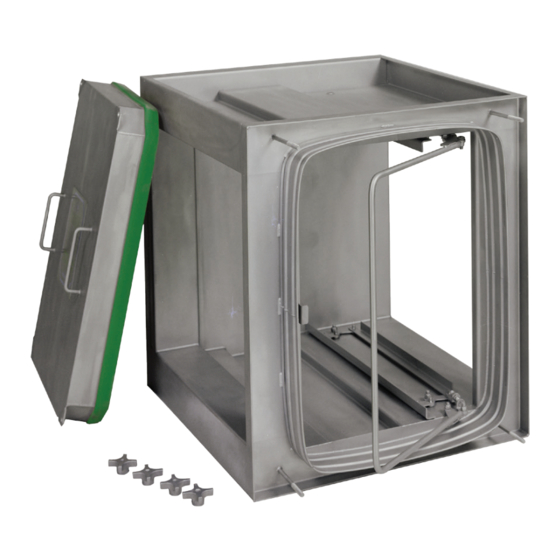
If the gasket on the access door becomes damaged, it can be replaced with new gasket by the user. You may
purchase replacement gasket from Camfil (see Spare Parts and Accessories, page 18). The following steps
should be taken to replace a door gasket:
1. Remove the door with the damaged gasket from the filtration housing. The filtration system will have to be
shut down for removal, consult you safety personnel first.
2. Warning: This step may require the use of sharp objects. Take extreme caution when performing
this step. With the door moved to a suitable work area, remove the damaged gasket from the door by
cutting, tearing or pulling until all of the gasket is removed from the door. Scrape or cut off the remaining
adhesive caulking from the door. Remove any remaining adhesive caulking, dirt, grease, with a clean wipe
or cleaning solvent.
3. Position door so the hemmed edge is up and dry fit the new gasket to the door just like previous gasket
was installed, and cut gasket to length. Allow for 3/4" overlap when cutting, this is to compress the gasket
edges back together when performing the final installation. It is important to cut gasket as straight as
possible.
4. Locate adhesive caulking (DC 732 or equal) and caulking gun. Cut tip off adhesive tube so that a bead of
caulking approximately 1/8" to 3/16" diameter will be produced. Deposit a continuous bead of caulking
(1/8" to 3/16" diameter) inside the bottom of the extruded gasket channel.
5. Start placing gasket on door so that the hemmed edge of door will lay inside the bottom of the extruded
gasket channel (refer to illustration). With one hand, use your thumb and index finger to gently pinch the
extruded gasket together while placing the gasket with the other hand until the entire door is covered.
Apply an even layer of caulking over the face area of the cut ends (do not apply to thick). Install ends
together over door while compressing gasket. Apply a very thin layer of caulking around the outside edge
of the joint.
6. Check the alignment of the gasket and reposition gasket if needed while caulking in pliable. Gently lift and
turn door over on table with the gasket face down. Apply caulking around the perimeter where the top edge
of the gasket meets the door. The adhesive caulking generally takes 24 hours to fully cure.
7. After the adhesive caulking fully cures, the door can be reinstalled on the housing.
Door Gasket Replacement
15
