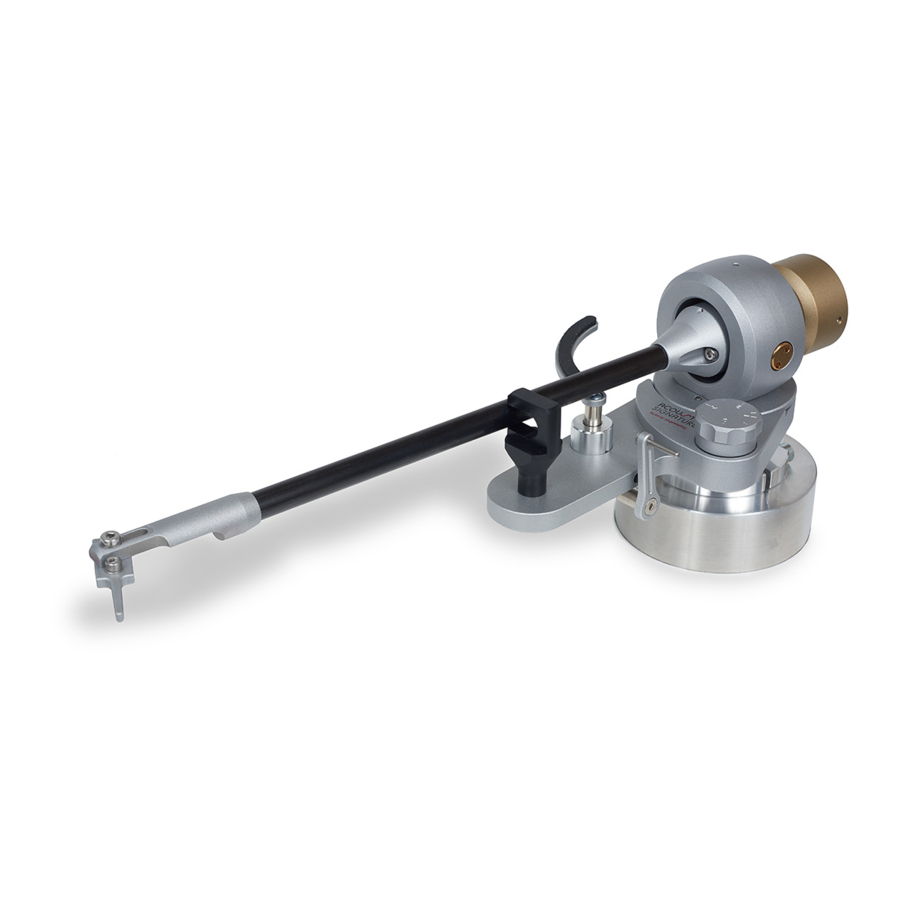
Acoustic Signature TA-2000 Manuale di istruzioni - Pagina 5
Sfoglia online o scarica il pdf Manuale di istruzioni per Apparecchiature industriali Acoustic Signature TA-2000. Acoustic Signature TA-2000 8. Pick-up arm

4. Mounting the cartridge
Please take a look at the assembly drawing to mount your car-
tridge to the tonearm. We use a headshell to mount your cartridge
on. Use the provided screw´s of the cartridge or the 2 pcs. M2.5
screws we supply with the tonearm. Mount your cartridge to the
plate and then connect the audio cable pin´s to your
cartridge.Take care for the correct color. Then use the provided
M3 Screw to attach the assembly to the head-shell.
5. Prepare adjusting the cartridge
Before we start aligning the cartridge we we need to pre adjust
the Tracking force and the height of the tonearm. Tracking force
will be adjusted by turning the counter weight forward (more
weight) or backward (for less weight). Search the manual of your
cartridge for the right value and adjust it by using a weight scale
(not provided). After you have done the setup of the Tracking force
please tighten the 3 small screws to fix the position of the weight.
. . . . . . . . . . . . . . . . . . . . . . . . . . . . . . . . . . . . . . . . . . . . .
5.1 Prepare adjusting the cartridge
Adjust the arm height with cartridge fitted, is either level or slightly
low at the front end. You can do this by opening the red marked
screw with the provided allen key. Open it carefully adjust the nee-
ded height and tighten the screw softly. Check if height is ok - if
not redo the adjustment. Be aware the when opening the screw
the arm might fall down!
. . . . . . . . . . . . . . . . . . . . . . . . . . . . . . . . . . . . . . . . . .
6. Adjusting the cartridge
This is done by using the provided adjustment template. Take the
template and assemble it as shown and place it on the platter.
Some units also come pre assembled.
