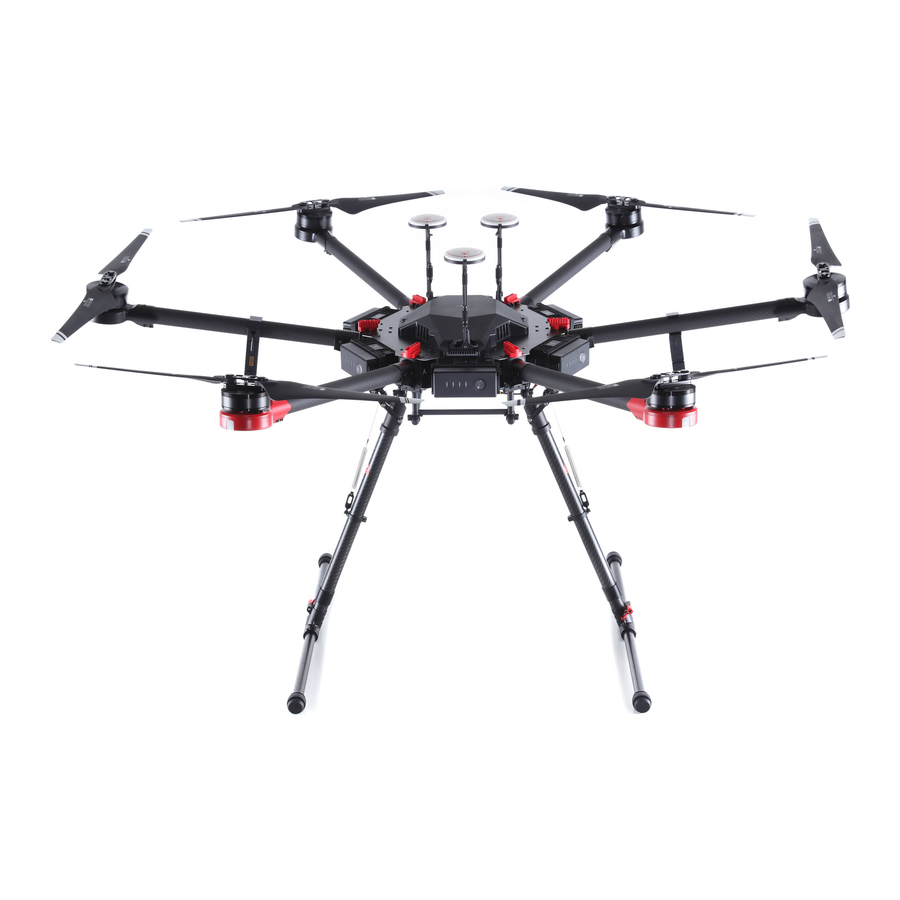
dji Matrice 600 Pro Manuale di riferimento rapido - Pagina 6
Sfoglia online o scarica il pdf Manuale di riferimento rapido per Droni dji Matrice 600 Pro. dji Matrice 600 Pro 9.
Anche per dji Matrice 600 Pro: Manuale di avvio rapido (8 pagine), Manuale d'uso (16 pagine)

people, etc and modify
mission plan accordingly.
4. Flight altitude is higher than
highest object
5. Flight will not operate over people,
moving vehicles, interfere with first
responders, operate in restricted or
prohibited airspace
6. Mount iPad on controller and
connect cable between iPad and
controller
7. Turn on controller
8. Connect iPad to hotspot
9. Plan mission (in Pix4D Capture)
a. Set flight area
b. Set sensor type to DJI
Zenmuse XT2 13mm
c. Frontlap/Sidelap set to same
settings as PPK SD Card
d. Altitude set to same settings
as PPK SD Card
e. Speed of mission set
f. Set failsafes
g. Total mission time no more
than 26 minutes
10. Preflight briefing (Performed by
PIC)
a. Flight area, altitude,
expected flight time
b. Failsafes
c. Emergency action and
communications between
crew
15. Remove propeller covers and place back into M600 case as to not misplace them
16. Check propellers are secured to motors and that propeller screws have not loosened
17. Check for propeller damage i.e. nicks, cracks, gouges, scratches
18. Turn on batteries and move away from the aircraft
19. SO check that Sony A6000 is set to following specifications:
a. Dial is set to "S" for shutter priority
b. Ensure landing gear foot is
attached to leg and hand-tightened
with red lever
4. Erect all 3 RTK-GNSS receivers on top of
platform
5. Remove M600 from case and install
landing gear
a. Ensure landing gear spring is
attached to leg hook
6. Place M600 on a solid flat surface
launch
pad) at takeoff location
7. Open propeller arms and lock into place
with red locking mechanisms
"click" into
place)
8. Check PPK battery voltage with voltage-
checker (12-12.6v) and strap PPK battery
on PPK body
9. Mount PPK to platform
a. Screw in bolts to hand-tightness
b. Bolts screw in on camera
connection cord side
c. Attach cable from Sony A6000 to
PPK
d. Plug in power cable and allow PPK
to get fixed GPS + GNSS location
10.
Ensure Sony A6000 lens cover is removed
and place in M600 top foam layer
11. Install XT2 sensor and ensure it is locked
in place
12. Install batteries into appropriate battery
slots
a. Make sure batteries click and lock
into place
13.
DO NOT TURN ON M600 UNTIL
CREW IS READY TO FLY
14. Fill in metadata (only one VO if multiple)
(use
(should
