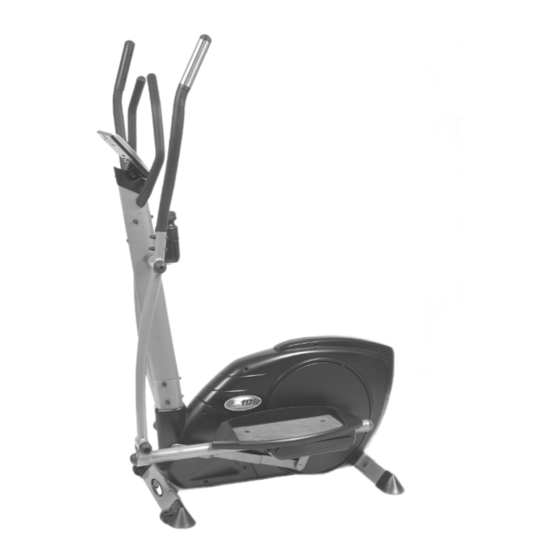
Fitness Quest Eclipse 1175e Manuale d'uso - Pagina 10
Sfoglia online o scarica il pdf Manuale d'uso per Allenatore ellittico Fitness Quest Eclipse 1175e. Fitness Quest Eclipse 1175e 13. Fitness quest elliptical trainer owner's manual 1175e

Program Profiles
PROGRAM 1
PROGRAM 5
MANUAL
PROGRAM 6
PROGRAM 2
ROTATING
PROGRAM 3
PROGRAM 7
VALLEY
PROGRAM 4
PROGRAM 8
FAT BURN
BODY FAT PROGRAM
16
PROGRAM 9
RAMP
TARGET HEART RATE
PROGRAM 10
FITNESS TEST
60% HEART RATE
PROGRAM 11
INTERVALS
75% HEART RATE
PROGRAM 12
85% HEART RATE
STEP 7 – Attaching the Monitor
a) Remove the Bolts from the rear
of the Monitor (see 7a).
b) Put the Wires from the rear of the
Monitor into the large hole of the
Monitor Plate. Then insert the Bolts
through the Monitor Plate into the
Monitor.
c) Connect the Monitor Wire to the
Vertical Tube Wire.
d) Connect the Monitor Pulse Wires to
the Vertical Tube Pulse Wires.
e) Insert the Monitor Plate into the
Vertical Tube. Align the Bolt holes
after inserting Monitor Mount (see 7b).
f) Insert and tighten two Phillips Bolts
into the holes.
STEP 8 – Installing the Handlebars
a) Connect the Vertical Tube Pulse Wire to
the Left Handlebar Pulse Sensor Wire.
b) Install the Left Handlebar into the Left
Swing Arm. Make sure to align the Bolt
Holes of the Left Handlebar with the Bolt
Holes of the Left Swing Arm.
c) From the rear of the Elliptical, insert the
two Carriage Bolts through the two holes.
d) Install a Curved Washer, a Spring Washer,
and then an Acorn Nut onto each Bolt.
Make sure each Acorn Nut is tightened.
e) Connect the Vertical Tube Pulse Wire with
the Right Handlebar Pulse Sensor Wire.
f) Install the Right Handlebar into the Right
Swing Arm. Make sure to align the Bolt
Holes of the Right Handlebar with the
Bolt Holes of the Right Swing Arm.
g) From the rear of the Elliptical, insert the two
Carriage Bolts through the two holes.
h) Install a Curved Washer, a Spring Washer,
and then an Acorn Nut onto each Bolt.
Make sure each Acorn Nut is tightened.
monitor
monitor
monitor pulse wires
monitor wire
monitor plate
monitor
mount
M5 x 10mm phillips bolt
7b
vertical tube pulse wires
vertical tube wire
stationary
bar
M5 x 16mm phillips bolt
Figure 7a & b – Install Monitor
left
handlebar
FRONT
pulse sensor wire
M8 curved
M8 acorn
washer
nut
M8 spring
washer
pulse sensor
wire
vertical tube
pulse wire
left swing arm
Figure 8 – Install Handlebars
7a
right
handlebar
REAR
vertical tube
pulse wire
M8 x 50mm
carriage bolt
right swing
arm
9
