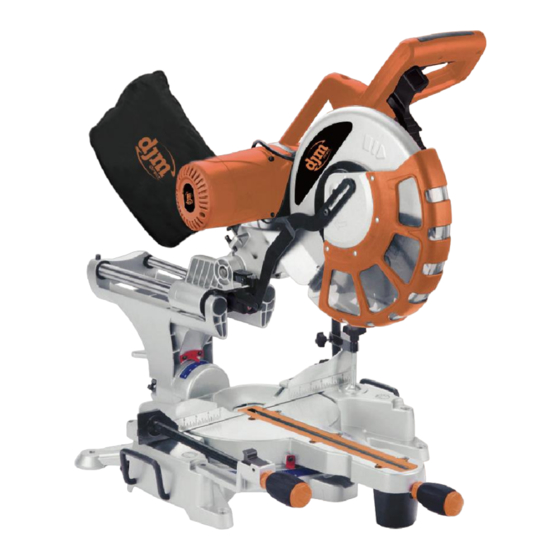
djm direct DJMSL12 Manuale operativo - Pagina 9
Sfoglia online o scarica il pdf Manuale operativo per Sega djm direct DJMSL12. djm direct DJMSL12 15. 12 double bevel compound sliding mitre saw

For quick and precise adjustment of commonly used mitre angles,
indentshave been provided for on the saw table:
– Loosen the locking knob (10) in case it is tightened.
– Rotate the saw table (13) left or right to the requested indent.
– Tighten locking knob (10). As the table is turned the indents will
click as they are passed.
Use mitre gauge (11) to achieve desired angle.
Adjusting the Bevel Angle
The bevel angle can be set in the range from -45° to 45°.
– Loosen the bevel lock (18) and pull out positive stop knob (40).
– Tilt the tool arm by the handle (1) until the bevel gauge
(16)indicates the desired bevel angle.
– Hold the tool arm in this position and retighten the bevel lock (18).
Using the Laser Guide System (17)
This feature allows your cuts to be accurate every time
Do not stare directly into the laser beams
– Mark the line of the cut of your work piece.
– Adjust the mitre and/or bevel angles as required
– Press the laser on/off switch (2) and align the work piece cut line
with either laser beam. The beams describe where the edges of the
blade (6) will cut.
– Clamp the piece in place then cut as normal.
Adjusting the Laser guide System (17)
If your laser guide does not seem to be aligned with both side of the
blade kerf, a small adjustment can be made.
– Place and clamp a scrap workpiece to the machine, and make a
partial cut.
– Remove the laser guide protective cover.
– Loosen screws (35) next to the laser (36)
– Turn laser tips (36) until the beams are aligned with either side of
the cut.
– Once aligned hold and retighten screws (35)
Starting Operation
Observe correct mains voltage! The voltage of the power source
must agree with the voltage specified on the nameplate of the
machine. Power tools marked with 230V can also be operated with
220V.
Switching On
– To start the machine, press the On/Off switch (3) and keep it
pressed.
Note: For safety reasons, the On/Off switch (3) cannot be locked; it
must remain pressed during the entire operation.
The tool arm can only be guided downward when pressing lever (4).
– For sawing, you must additionally press lever (4) in addition to
actuating the On/Off switch (3).
Switching Off
– To switch off the machine, release the On/Off switch (3).
Cross Cutting
When cutting, it is not always necessary to use the sliding carriage. In
this case make sure that the sliding carriage lock (22) is tightened to
prevent the saw arm from sliding.
– With the machine in working position, and the bevel and mitre
angle set to desired angles and the workpiece clamped, loosen the
sliding carriage lock (22), pull handle (1) towards you.
– Press the On/off switch (3), also press lever (4). Pull down on
handle (1) and push the blade down through the workpiece then
away from your body.
– Once the cut is complete raise the head and release the on/off
switch (3) and lever (4).
– Wait until the blade has stopped spinning before removing the
workpiece.
General Sawing Instructions
For all cuts, it must first be ensured that the saw blade at no time
can come in contact with the fence, screw clamps or other machine
parts. Remove possibly mounted auxiliary stops or adjust them
accordingly.
8
