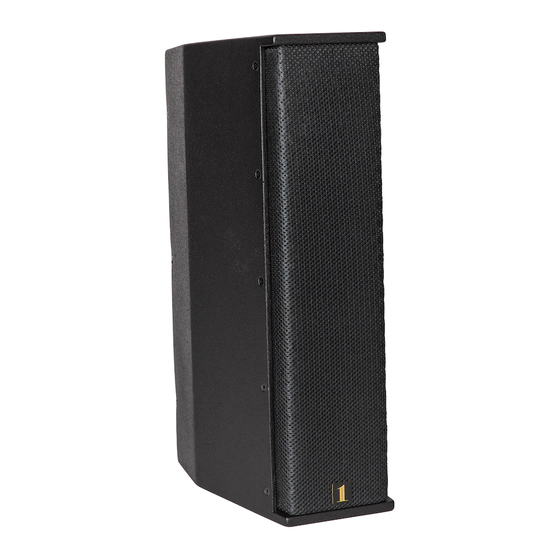
1 Sound LCC84 Manuale di installazione - Pagina 7
Sfoglia online o scarica il pdf Manuale di installazione per Sistema di altoparlanti 1 Sound LCC84. 1 Sound LCC84 16.

Installing the bracket on the LCC44/LCC84 enclosure
Once the bracket has been separated from the wall-mount plate, it can
be easily attached to the LCC44 or LCC84 enclosure.
Important: For permanent or semi-permanent installation,
the use of medium-strength threadlocking compound is
recommended on all user-installed screws.
Figure 9. The rear panels of the LCC44 (left) and
LCC84 with the mounting points for the bracket
indicated.
| 3 - INSTALLING LCC44/LCC84 ON A WALL MOUNT BRACKET
Figure 10. Removing the M8 x 20 mm screws for the
installation of the bracket (LCC44 shown).
• Lay the enclosure on its front grille, taking whatever necessary
precautions to avoid damaging the finish of the cabinet or the
grille. Although the LCC44 and LCC84 units have a symmetrical
vertical coverage and there is no "top" or "bottom" acoustically,
if the front grille is equipped with a logo plate you should note
its orientation and for aesthetic reasons, and make sure that
the bottom of the logo plate will be towards the bottom of the
enclosure when it is installed.
• Using a 5 mm hex wrench, remove the two button-head M8 x
20 mm screws from the two connection panels, between each
pair of SpeakOn connectors on the rear of the enclosure. Keep
them, as they will be used to mount the bracket.
