CYP Suprex SPX-7400 Series Manuale operativo - Pagina 8
Sfoglia online o scarica il pdf Manuale operativo per Estensore CYP Suprex SPX-7400 Series. CYP Suprex SPX-7400 Series 18. Reader extender - fiber optic interface

Cypress Suprex® SPX-7400 Series - Setup and Pre-installation
" "
" "
"
Bench Testing:"
"
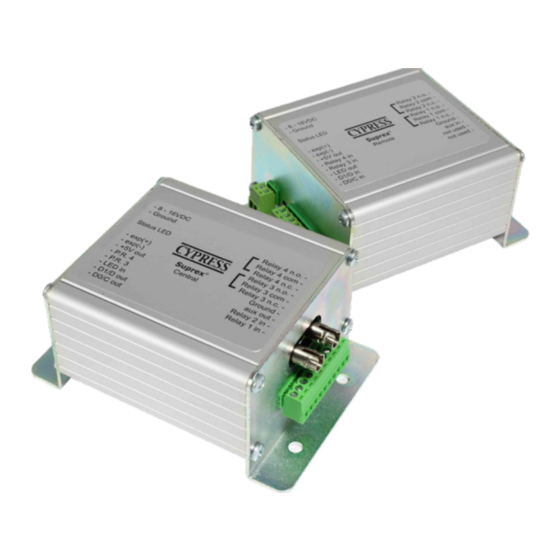
Before installing the units in the field they should be assembled and tested at a convenient "Bench top"
location. This will make it easier to verify / change settings and check operation when both units are visible
at the same time. "
"
It is also a chance to become familiar with the system if this is the first time using the Suprex® system. It is
much more difficult to setup and test the units when they are several thousand feet apart."
" "
1. Connect the Remote and Central unit Fiber Optic ports together using a crossover connection using a
"
section of fiber optic cable as shown in the diagram in this manual."
2. Connect a suitable power supply to both units. Each unit should be provided with 8 - 16 volts DC and a
minimum of 500mA. "
"
3. Apply power. After about a short delay, both units Diagnostic LED should indicate communication by
"
illuminating with a periodic Green pulse."
5. Touch a jumper wire from the Ground connection the the Relay 1 input on the Central unit. Relay #1 on
the Remote unit should activate with an audible click. A VOM or continuity tester should show the Relay
#1 normally open contacts on the Remote unit closing when the Relay #1 input is activated (connected to
"
ground) on the Central unit."
6. Units are shipped from the factory set for the Wiegand data format. If a different format is required set the
DIP switch to the required reader and panel format. "
"
7. If a reader and panel is accessible, connect the reader to the Remote unit and the Central unit to the panel
and verify that card reads are being accepted by the access control system. If any troubleshooting is
"
necessary, it will be easier to do with both units in close proximity to each other. "
8. If Expansion modules are used with the system, refer to the Expansion Module Appendix in this manual."
"
9. Once these steps are completed, the units are ready for installation it their permanent locations and final
"
commissioning as a system."
"
"
"
"
"
"
"
"
"
"
"
"
"
"
"
"
"
"
"
"
"
"
"
"
"
"
"
"
"
"
"
"
"
"
"
"
"
"
"
"
"
"
"
"
"
"
"
"
