Ashford BLENDING BOARD Istruzioni - Pagina 2
Sfoglia online o scarica il pdf Istruzioni per Accessori per macchine da cucire Ashford BLENDING BOARD. Ashford BLENDING BOARD 2.

Keel Bolt
1. Attach the keel to the blending board with the keel bolt.
Use position 1 if you are working on a table or 2 or 3 if working
on your lap.
3. Starting at the handle end, apply thin layers of fibre onto
the teeth mixing colours and fibres as you go.
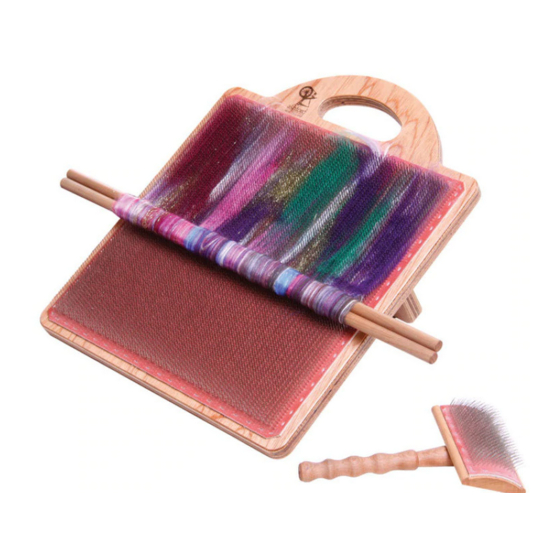
5. To remove the fibre and make a rolag, pull some fibres out
from the bottom and wrap them around one dowel. Then trap
these fibres by holding the second dowel on top of the first.
Keel
Ashford Handicrafts Limited
Factory and Showroom: 415 West Street
PO Box 474, Ashburton 7700 New Zealand
Telephone 64 3 308 9087 Facsimile 64 3 308 8664
Email: [email protected] Internet: www.ashford.co.nz
2. To use the blending board on your lap, loosen the keel
bolt slightly, position the keel between your knees with the
handle away and rotate the blending board to a comfortable
working position.
4. Use the blending brush to pack the fibres down into the
teeth. Apply more layers of fibre and brush into the teeth until
the board is full.
6. Pull the dowels towards you stretching and carding the
fibres. Then wrap these fibres around both dowels as you draft.
You can easily make 4 or more rolags from each full board.
7. Slide one dowel out of the rolag
and then the other. Your fibre is now
ready to spin into beautiful yarn.
