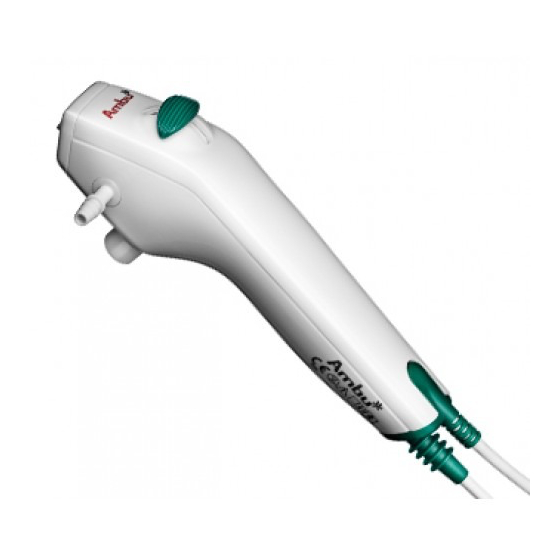
医療機器 Ambu aScope 3 SlimのPDF クイックマニュアルをオンラインで閲覧またはダウンロードできます。Ambu aScope 3 Slim 2 ページ。 Intubation and single lung ventilation
Ambu aScope 3 Slim にも: クイックマニュアル (2 ページ)

Ambu
aScope
®
- Quick Guide for intubation and single lung ventilation
1.
Functions
The aScope 3 and aScope 3 Slim are the perfect choice
for all types of intubation as they are ready to use
whenever you need them. The instantly accessible
single-use and ready-to-go concept simplify flexible
intubation procedures and improve patient safety.
aScope 3 and aScope 3 Slim are single-use sterile
flexible videoscopes with a 2.2 mm or 1.2 mm working
channel respectively.
For intubation the aScope 3 can be used with ET tubes size
6 and up and the aScope 3 Slim with ET tubes size 5 and up.
For single lung ventilation aScope 3 Slim can be passed
through DLT's of FR 37 or greater or BB of sizes 5-9.
Warning: Read Instructions For Use before using the aScope
2.
Connecting the system
1. & 2. Connect aScope 3 or aScope 3 Slim to the
aView by plugging the aScope 3 connector
- white with blue arrow - into the corresponding
blue female connector on the side of aView.
3.
Preparation for use
•
Ensure that the selected ET tube or DLT/BB is compatible with
the aScope 3 or aScope 3 Slim.
•
Lubricate the insertion cord with a medical grade lubricant to
ensure the lowest possible friction. Do not get lubrication or any
other contaminant on the tip of the aScope 3/aScope 3 Slim.
•
Attach the suction tube to the suction connector and ensure
that the suction works when pressing the suction button
•
Fluids can be instilled through the working channel by inserting a
syringe into the working channel port at the top of the aScope 3.
When using a Luer Lock syringe, use the included introducer.
•
If you are using a preformed ET tube unbend it before inserting
the cord of the aScope 3 through it.
•
Antifogging agent is not required with this device.
•
Confirm that the bending section functions smoothly and
correctly by carefully sliding the bending control lever forward
and backward in each direction.
3 and Ambu
™
3 or aScope
™
3. Push the ON/OFF
button on the aView to
start up the system.
aScope
3 Slim
®
™
aScope 3
Insertion cord diameter 5.0 mm
Working channel 2.2 mm
aScope 3 Slim
Insertion cord diameter 3.8 mm
Working channel 1.2 mm
Bending angle 130º/130º
3 Slim and aView.
™
4. The real time image
will appear on aView
after only a few seconds
and the aScope 3 system
is ready to use
•
Confirm that the bending section returns to a straight position.
•
Connect the aScope 3/aScope 3 Slim to the aView and verify that
a live video image appears on the screen.
•
Always have an additional aScope at hand as a precaution.
Bending angle 150º/130º
Turn the page
