- ページ 5
室内暖炉 ACR Heat Products NI22のPDF 据付・取扱説明書をオンラインで閲覧またはダウンロードできます。ACR Heat Products NI22 9 ページ。

ASSEMBLY
The following tools are required:
10mm, 13mm and 17mm wrench or socket wrench
Cartridge gun for the fire cement
1. Start off by getting an overview of all the loose parts and check that
you have the following:
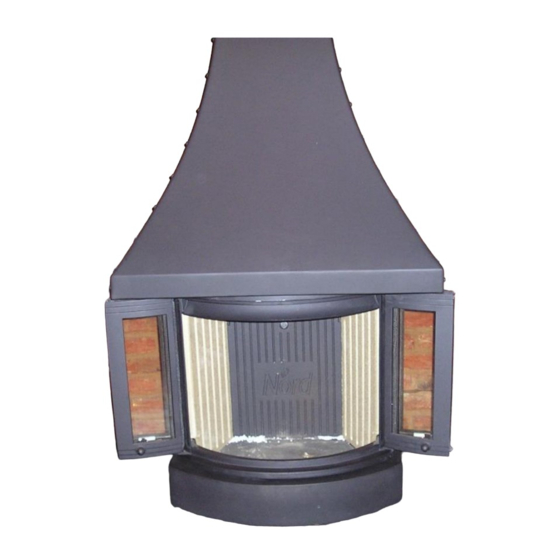
a. Smoke dome
b. 2 x bolts with washer to fix the smoke dome
c. Insert with radiation shield
d. 3 x M10 bolts with counter nut for floor adjustment
e. Wooden handle
f. Fire cement
g. Heat resistant glove
h. Warranty card
i. 2 x right angle brackets & 6 bolts to suit
j. flue adaptor
k. Canopy and brackets (if appliance to be installed freestanding)
l. Base cover
2. Turn the appliance onto it's back and fix the floor adjustment bolts in
the approximate height needed for your installation.
3. Installation of the smoke dome
Place the pre-roped smoke dome on the top of the stove.
Secure in
position using the nuts and bolts provided as illustrated in figure 4. The
smoke dome can be rotated no more than 50mm to the left or to the right
to coincide with the flue connection. Fix the flue adaptor to the smoke
dome exit and seal with fire cement.
4.
Your stove is now assembled and can be put into place in the
fireplace and connected to the flue system. The internal stove base is
protected with a sheet of plastic – please remove this plastic at this point.
5. The canopy can now be attached to the stove. Take 1 right angle
bracket and using the holes provided, fix the bracket as per drawing to
the side panel and secure with 3 bolts. Repeat this procedure on the
opposite side panel.
Diagram of bracket
5
