- ページ 4
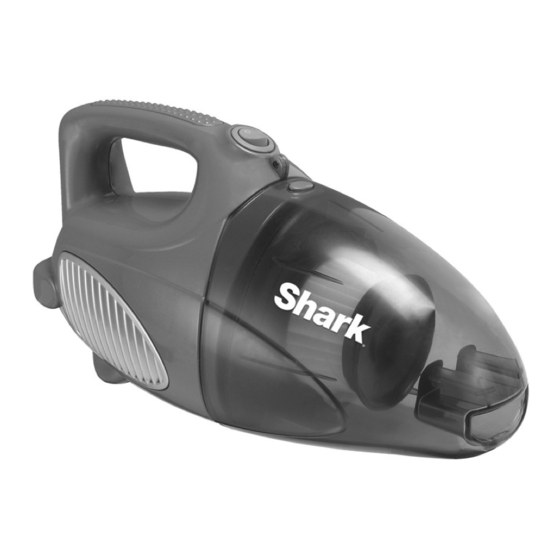
掃除機 Euro-Pro Shark V900TBのPDF オーナーズマニュアルをオンラインで閲覧またはダウンロードできます。Euro-Pro Shark V900TB 17 ページ。 Power-vac bagless hand vacuum

OPERATING INSTRUCTIONS
Air Driven Turbo Brush
The efficiency of your air driven turbo
brush depends on the bristle brush
rotating at high speed. Strong air
suction is needed to accomplish this.
In order to ensure that maximum air
suction is maintained, please read the
following instructions:
1. Empty the dust cup frequently.
2. When emptying the dust cup,
always "tap clean" the HEPA type
dust cup filter, by tapping it against
a hard surface, such as your
garbage can.
3. Ensure that the rotating brush is
kept free of hair and string which
may accumulate and decrease
brush performance.
4. Keep air driven turbo brush turbine
free of dirt and foreign matter. (See
illustration for cleaning instructions.)
Using The Unit With Air Driven
Turbo Brush
1. Slide the smaller end of the
hose into the suction hole of the
hand vacuum. (Fig. 5)
Fig. 5
2. Slide the wider end of the hose
onto the end of the air driven turbo
brush. (Fig. 6)
Fig. 6
3. Attach the shoulder strap to the
vacuum and hang it from your
shoulder.
4. You can now proceed with
vacuuming your upholstery.
Cleaning Air Driven Turbo Brush
Locking Latch
Turbine
Wheel
Fig. 7
From time to time, the turbine of your
turbo brush will require cleaning. To do
this:
1. Remove the air driven turbo brush
from the hose or suction hole.
2. Turn air driven turbo brush over and
open the hinged latch to access the
turbine wheel. (Fig. 7)
3. There may be some dust, lint, hair,
etc, on the turbine wheel. Remove as
much of this as possible.
4. You may also use the hand vacuum
and hose to remove any additional
debris from the turbine wheel.
5. Ensure that the turbine wheel moves
freely by rotating it with your finger. If
the turbine does not rotate, call
customer service at 1(800) 798-7398.
6. Close and lock the hinged latch on
the air driven turbo brush and
continue vacuuming.
5
OPERATING INSTRUCTIONS
Cleaning & Changing the HEPA
Type Dust Cup Filter
WARNING:
Always unplug the unit from
electrical outlet before opening the dust
cup (container).
WARNING:
Do NOT use the HEPA
type dust cup filter without the filter ring in
place.
NOTE:
After each Use - Always remove
the HEPA type dust cup filter, then
vigorously "tap clean" the HEPA type
dust cup filter.
1. To open the hand vacuum, push
the dust cup release and detach
the dust cup (container) from the
hand vacuum. (Fig. 8)
2. Pull out the HEPA type dust cup
filter from the dust cup (container).
(Fig. 9)
Fig. 8
Fig. 9
3. Empty the dust from the dust cup
(container).
4. Separate the filter ring from the HEPA
type dust cup filter by grasping the
filter ring by filter ring tab to undo the
Velcro
TM
closure. (Fig. 10)
Filter Ring Tab
Fig. 10
5. Vigorously "tap clean" the HEPA
type dust cup filter on a hard
surface, such as your garbage can,
until no more dust is observed
falling out from between the pleats
of the filter. (Fig. 11)
Fig. 11
6. Rinse the HEPA type
dust cup filter under
lukewarm running
water until the water
runs clear. (Fig. 12)
7. Once the HEPA type
dust cup filter has
air dried for 24 hours,
replace the filter ring,
ensuring the Velcro closure forms a
tight seal.
8. Replace the HEPA type dust cup
filter into the dust cup (container)
and attach the dust cup (container)
to the hand vacuum.
PLEASE NOTE:
The white pleated
filter material in the HEPA type dust cup
filter will discolor over time. This is
normal and will NOT affect the
performance of the filter. If the HEPA
type dust cup filter is properly "tap
cleaned" after each use and suction
does not return to 100%, then rinse the
filter under a faucet and allow to air dry
for 24 hours before refitting into the
vacuum. We recommend washing the
HEPA type dust cup filter once a month
or when suction is reduced.
WARNING:
If you wash the HEPA
type dust cup filter, make sure that it is
completely air dried before inserting
back in the vacuum.
PLEASE NOTE:
The HEPA type dust
cup filter is washable. However, it
should be replaced every three (3) to
six (6) months, depending on usage to
ensure peak performance of your
vacuum.
6
Fig. 12
