4) SOLAR MODE
MODE
MODE
SUMMER MODE
SUMMER MODE is the normal operation of heating the swimming pool.
WINTER MODE, when selected you will be prompted to select the start month of winter and the start month of
summer, the purpose of winter mode is not to use solar to heat the pool but to ensure the solar collector on the roof
gets flushed otherwise the water in the collector becomes contaminated. If AUX. HEATER is set to OFF a 3 minute flush
of the solar matting occurs between 10:00 and 16:00 providing the roof temperature is equal or greater than the pool,
but if that condition does not occur a solar system flush will be forced to occur at 16:00.
If AUX. HEATER is set to ON then the system operates similar to summer mode but solar pump activity is monitored
and will force a 3 minute flush if solar has not been active for seven days, note the unit may flush if winter mode is
selected on the day of install.
**Factory default for solar mode is SUMMER MODE
5) SET CLOCK
When you enter the CLOCK menu you will be prompted to set the calendar & time.
Adjust values by pressing the Up/Down buttons, to accept the setting press the Enter button, repeat until all values are
correct.
6) SAVE & EXIT
When this menu is selected, push Enter to save ALL settings, the unit will return to normal operation automatically.
Note: If any of the menu items are left unattended for 3-4 mins the menu will time out and automatically save all
settings and return to operation.
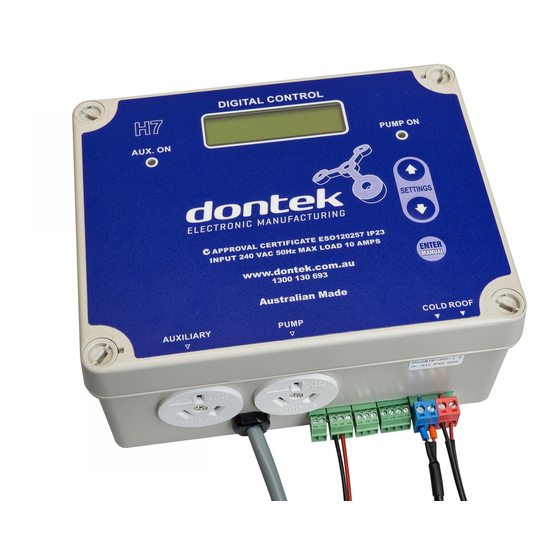
The ENTER/MANUAL button (Manual heating mode)
FOR MANUAL MODE
PRESS ENTER NOW
Pressing the Enter button once will display the above message for ~3 seconds, to prevent accidental manual mode if
ENTER is not pressed again within the 3 second period then the controller will revert to automatic operation (and it will
cancel any pump lockout delays).
If ENTER is pressed again within 3 seconds then manual mode is activated, the solar pump is stopped (if operating)
and the aux pump (filtration) is switched on, the following is displayed;
MANUAL MODE 4HR
23.5° SET=30.0°
The displayed temperature on the left hand side is the water temperature; the SET temperature displayed on the right
hand side is what manual mode will heat the water to before the aux. heater is switched off.
Use Up button or Down button to change the SET temperature to the required comfort level.
Press & hold ENTER/MANUAL to exit manual heating mode and revert back to automatic mode.
Manual heating mode will automatically revert to automatic operation 4 hours after the last temperature adjustment.
NOTES.
1.
If a sensor fault is detected the H7 will display which sensor and what the fault is.
2.
Should power be interrupted for any reason, the H7 will resume normal operation when power is restored, all
information will have been kept.
3.
Temperature sensors used with this unit are Digital and are accurate to 0.5 Deg. C, no calibration is required.
4.
The sensor cable with the thin trace is the positive and is usually fitted to the right hand side of the green
plug, incorrect polarity will be displayed.
5.
If Auxiliary heater interlock switching is used the maximum load is 5A at 32VAC max.
6.
Solar lock-out can be modified by holding the up button on power-up.
Return to Manufacturer for repair.
H7 SVR – INSTRUCTIONS
AUTO WINTER MODE
Page 3 of 4
