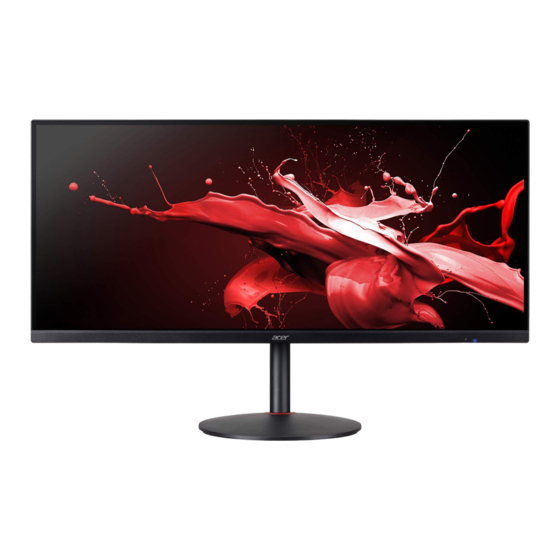
- ページ 20
モニター Acer XV340CKのPDF ユーザーマニュアルをオンラインで閲覧またはダウンロードできます。Acer XV340CK 30 ページ。
Acer XV340CK にも: ユーザーマニュアル (5 ページ), ユーザーマニュアル (29 ページ)

Installation
To install the monitor on your host system, please follow the steps below:
Steps
1. Connect the video cable
a. Make sure both the monitor and computer are switched off.
b. Connect the HDMI Cable (Only HDMI-Input Model)
(1) Make sure both the monitor and computer are switched off.
(2) Connect one end of the 19-pin HDMI cable to the back of the monitor and the other end to
the computer's port.
c. Connect the DP cable (only for DP models).
(1) Make sure both the monitor and computer are switched off.
(2) Connect one end of the 20-pin DP cable to the back of the monitor and the other end to
the computer's port.
2. USB Upstream/USB Downstream (Battery Charger)/USB Downstream
Connect one end of the USB cable to the USB terminal of the monitor, and connect the
other end of the USB cable to an appropriate USB port on your device.
Note: The USB downstream port does not provide power while the monitor switch is off.
USB output: 5V/2.1A
Note: In some circumstances when using USB 3.0 devices (hard drives or flash drives)and
2.4 GHz USB wireless devices(for example wireless mouse, keyboard, or headphone)
at the same time, USB 3.0 devices radio frequency interference may impact on 2.4 GHz
USB wireless devices, result in a drop in throughput on the wireless transmission.
User may feel delayed response to mouse or keyboard inputs, missing keyboard
characters or mouse commands, decreased operating distance between the 2.4 GHz
USB wireless device and its receiver.
Please refer to the following ways which helps to reduce this radio frequency interference.
1. Wireless dongle was moved away from the USB 3.0 device as possible as you can.
2. If the USB wireless receiver and USB 3.0 device have to be connected at the sameside,
Position your USB wireless receiver as close as possible to your wireless peripheral device
(mouse, keyboard, headphones, etc.) Or use a standard USB extender cable or Hub to
position your USB wireless receiver as far away as possible from your USB 3.0 port.
3. Connect the power cord
Connect the power cord to the monitor, then to a properly grounded AC outlet.
4. Turn on the monitor and computer
Turn on the monitor first, then the computer. This sequence is very important.
5. If the monitor does not function properly, please refer to the troubleshooting section to diagnose
the problem.
USB Downstream
USB Downstream
(Battery Charger)
(Battery Charger)
USB Downstream
USB Downstream
USB Downstream
USB Downstream
USB Downstream
USB Downstream
(Battery Charger)
(Battery Charger)
PC
9
