- ページ 21
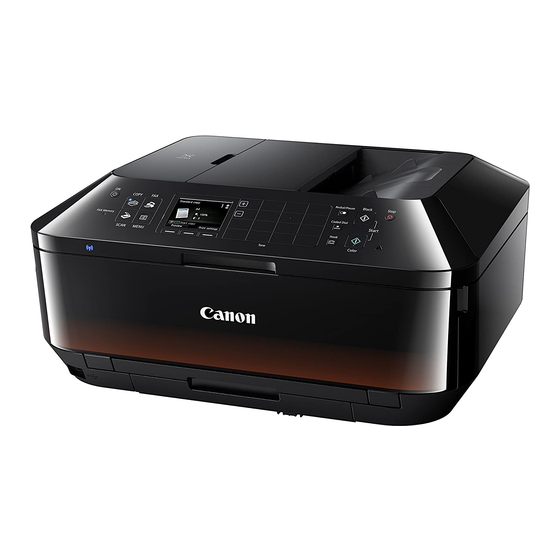
オール・イン・ワン・プリンター Canon PIXMA MX922のPDF セットアップマニュアルをオンラインで閲覧またはダウンロードできます。Canon PIXMA MX922 31 ページ。 Getting your multifunction
back on your network
after a router or network change
Canon PIXMA MX922 にも: 簡単なセットアップ (2 ページ), ネットワーク設定マニュアル (21 ページ), セッティング (29 ページ), 接続設定 (15 ページ), クイックマニュアル (22 ページ), マニュアル (20 ページ)

WPA/WPA2
Failed to connect to the access point.
Make sure that the passphrase entered for the access point is correct.
If the problem is not resolved, there may be other causes.
See also the sections below:
•
If the DHCP function of the access point is inactive, enable the DHCP function and configure wireless connection
settings again.
•
For details on how to check or change the settings of the access point, refer to the manual supplied with the access
point or contact its manufacturer.
WLAN setting list
If the MAC address filtering is enabled on the access point, change settings so that the MAC address of the printer
will be accepted.
Follow the procedure below to check the MAC address of the printer.
1. Press the MENU button.
2. Select Setup in the next screen, then press the OK button.
3. Select Device settings, then press the OK button.
4. Select LAN settings > Confirm LAN settings > WLAN setting list to check MAC address.
For details on how to change the settings of the access point, refer to the manual supplied with the access point or
contact its manufacturer.
If the problem is not resolved, there may be other causes.
See also the sections below:
•
If the access point is configured to communicate using IEEE802.11n standard only and encryption is set to TKIP,
change the encryption to something other than TKIP or change the communication standard to something other
than IEEE802.11n, then configure wireless connection settings again.
•
If encryption is set to TKIP, IEEE802.11n cannot be used as the communication standard.
•
For details on how to change the settings of the access point, refer to the manual supplied with the access point or
contact its manufacturer.
