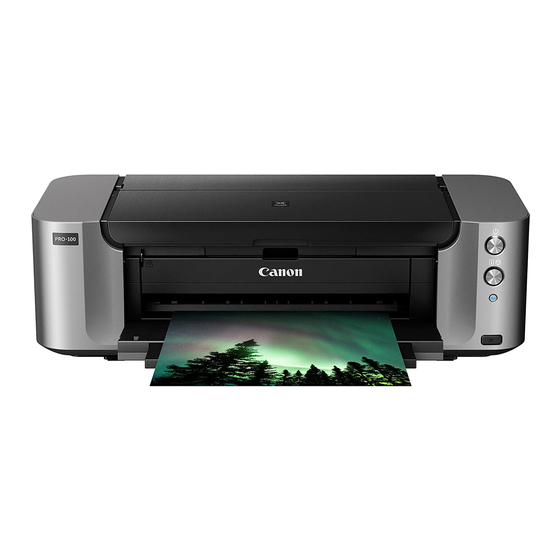
- ページ 2
オール・イン・ワン・プリンター Canon PIXMA PRO-10のPDF はじめにをオンラインで閲覧またはダウンロードできます。Canon PIXMA PRO-10 4 ページ。 Non-pc device printing
Canon PIXMA PRO-10 にも: セットアップマニュアル (8 ページ), スタートマニュアル (4 ページ), パンフレット&スペック (12 ページ), マニュアル (2 ページ), はじめに (4 ページ), セットアップ (2 ページ)

1
2
Print Head Holder
Do not touch inside until the movement stops.
列印頭固定座
移動停止前請勿觸摸內部。
ตั ว ยึ ด หั ว พิ ม พ์
อย่ า สั ม ผั ส ภายในจนกระทั ่ ง กระบวนการหยุ ด
Penahan Kepala Cetak
Jangan menyentuh bagian dalam sampai
gerakannya selesai.
3
3 3
Firmly raise the Print Head Lock Lever until it stops.
Do not touch!
3 3
用力抬起列印頭鎖定桿直至其停止。
請勿觸摸!
3
ยกขึ ้ น คานโยกตั ว ล็ อ กหั ว พิ ม พ์ อ ย่ า งมั ่ น คง
จนกระทั ่ ง หยุ ด
อย่ า สั ม ผั ส !
3 3
Angkat dengan kuat Tuas Pengunci Kepala Cetak sampai berhenti.
Jangan sentuh!
4
4 4
Take out the Print Head from the silver package, then remove the orange protective cap.
Do not touch!
There may be some transparent or light color ink on the inside of the silver package and protective cap. It does not
affect the print quality. Be careful not to get ink on yourself.
4 4
從銀色包裝袋中取出列印頭,然後移除橙色保護蓋。
請勿觸摸!
銀色包裝袋和保護蓋內部可能會有少量透明或淺色墨水。這不影響列印品質。小心不要沾染墨水。
4
นำหั ว พิ ม พ์ อ อกจากแพคเกจสี เ งิ น
แล้ ว เอาแค็ ป ป้ อ งกั น สี ส ้ ม ออก
อย่ า สั ม ผั ส !
อาจจะมี ห มึ ก โปร่ ง ใสหรื อ หมึ ก สี ส ว่ า งที ่ อ ยู ่ ภ ายในแพคเกจสี เ งิ น และแค็ ป ป้ อ งกั น
ไม่ ม ี ผ ลต่ อ คุ ณ ภาพการพิ ม พ์
ระมั ด ระวั ง ไม่ ใ ห้ ห มึ ก เปื ้ อ นคุ ณ เอง
4 4
Keluarkan Kepala Cetak dari bungkusan perak, kemudian lepaskan sumbatan pelindung oranye.
Jangan sentuh!
Mungkin ada beberapa tinta berwarna transparan atau terang di dalam bungkusan perak dan sumbatan pelindung. Itu
tidak mempengaruhi kualitas cetak. Hati-hati agar tinta tidak mengenai Anda.
2
1 1
Open the Paper Output Tray.
1 1
開啟出紙托盤。
1
เปิ ด เทรย์ อ อกกระดาษ
1 1
Buka Tatakan Keluaran Kertas.
2 2
Open the Top Cover.
2 2
開啟上蓋。
2
เปิ ด ฝาครอบด้ า นบน
2 2
Buka Penutup Atas.
5
5 5
Set the Print Head in place.
Do not knock the Print Head against the sides of the holder!
5 5
將列印頭放置到適當位置。
請勿敲擊列印頭固定座的側面!
5
ตั ้ ง ค่ า หั ว พิ ม พ์ เ ข้ า ที ่
อย่ า ให้ เ คาะหั ว พิ ม พ์ ต ่ อ กั บ ด้ า นตั ว ยึ ด !
5 5
Set Kepala Cetak pada tempatnya.
Jangan membenturkan Kepala Cetak melawan sisi penahan!
6
6 6
Lower the Print Head Lock Lever completely.
Once you have installed the Print Head, do not remove it unnecessarily.
6 6
完全放下列印頭鎖定桿。
安裝列印頭後,若非必要請勿將其取出。
6
ทำให้ ค านโยกตั ว ล็ อ กหั ว พิ ม พ์ ต ่ ำ ลงเสร็ จ สมบู ร ณ์
เมื ่ อ คุ ณ ติ ด ตั ้ ง หั ว พิ ม พ์ อ ยู ่ แ ล้ ว
อย่ า ลบออกอย่ า งไม่ จ ำเป็ น
6 6
Turunkan Tuas Pengunci Kepala Cetak sepenuhnya.
Setelah Anda memasang Kepala Cetak, jangan mencopotnya jika tidak diperlukan.
1
1 1
Remove the ink tank from the package.
1 1
從包裝袋中取出墨水盒。
1
เอาตลั บ หมึ ก ออกจากแพคเกจ
1 1
Keluarkan kotak tinta dari bungkusan.
2
(A)
2 2
Remove the orange cap slowly.
(A) Do not press the sides.
(B) Do not touch!
2 2
緩慢移除橙色保護蓋。
(A) 請勿按壓側面。
(B) 請勿觸摸!
2
เอาแค็ ป สี ส ้ ม ออกอย่ า งช้ า
ๆ
(A)
อย่ า กดขอบด้ า น
(B)
อย่ า สั ม ผั ส !
2 2
Lepaskan sumbatan oranye secara perlahan.
(A) Jangan menekan sisinya.
(B) Jangan sentuh!
3
(B)
