- ページ 4
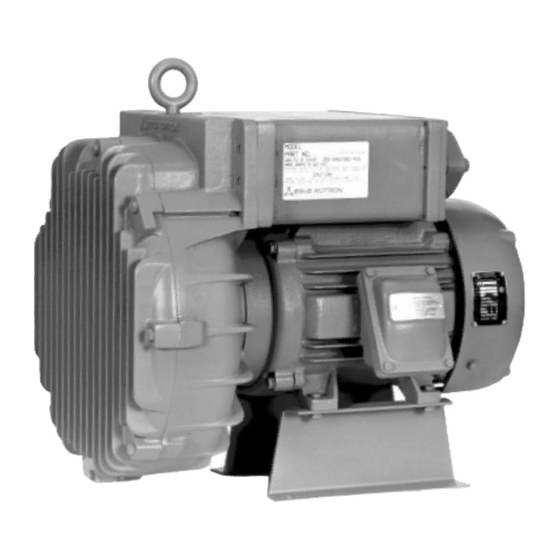
送風機 Ametek CP6のPDF サービス&パーツマニュアルをオンラインで閲覧またはダウンロードできます。Ametek CP6 14 ページ。 Direct drive regenerative blower

Troubleshooting
POSSIBLE CAUSE
1.
* One phase of power line not connected
2.
* One phase of stator winding open
3.
Bearings defective
4.
Impeller jammed by foreign material
5.
Impeller jammed against housing or cover
6.
** Capacitor open
1.
* Two phases of power line not connected
2.
* Two phases of stator winding open
1.
Insufficient fuse capacity
2.
Short circuit
1.
High or low voltage
2.
* Operating in single phase condition
3.
Bearings defective
4.
Impeller rubbing against housing or cover
5.
Impeller or air passage clogged by foreign material
6.
Unit operating beyond performance range
7.
Capacitor shorted
8.
* One phase of stator winding short circuited
1.
Impeller rubbing against housing or cover
2.
Impeller or air passages clogged by foreign
material
3.
Bearings defective
1.
Leak in piping
2.
Piping and air passages clogged
3.
Impeller rotation reversed
4.
Leak in blower
5.
Low voltage
* 3 phase units
** 1 phase units
*** Disassembly and repair of new blowers or motors will void the Rotron warranty. Factory should be contacted
prior to any attempt to field repair an in-warranty unit.
Blower Disassembly:
WARNING: Attempting to repair or diagnose a blower may void Rotron's warranty. It may also
be difficult to successfully disassemble and reassemble the unit.
1) Disconnect the power leads. CAUTION: Be sure the power is disconnected before doing any work
whatsoever on the unit.
2) Remove or separate piping and/or mufflers and filters from the unit.
3) Remove the cover bolts and then the cover. NOTE: Some units are equipped with seals. It is
mandatory that these seals be replaced once the unit has been opened.
4) Remove the impeller bolt and washers and then remove the impeller. NOTE: Never pry on the
edges of the impeller. Use a puller as necessary.
5) Carefully note the number and location of the shims. Remove and set them aside. NOTE: If the
disassembly was for inspection and cleaning the unit may now be reassembled by reversing the
above steps. If motor servicing or replacement and/or impeller replacement is required the same
shims may not be used. It will be necessary to re-shim the impeller according to the procedure
explained under assembly.
OUT OF WARRANTY REMEDY ***
1.
2.
3.
4.
5.
6.
1.
2.
1.
2.
1.
2.
3.
4.
5.
6.
7.
8.
1.
2.
3.
1.
2.
3.
4.
5.
3
Connect
Rewind or buy new motor
Change bearings
Clean and add filter
Adjust
Change capacitor
Connect
Rewind or buy new motor
Use time delay fuse of proper
rating
Repair
Check input voltage
Check connections
Check bearings
Adjust
Clean and add filter
Reduce system pressure/vacuum
Change capacitor
Rewind or buy new motor
Adjust
Clean and add filter
Change bearings
Tighten
Clean
Check wiring
Tighten cover, flange
Check input voltage
Revised – June 2016
