- ページ 4
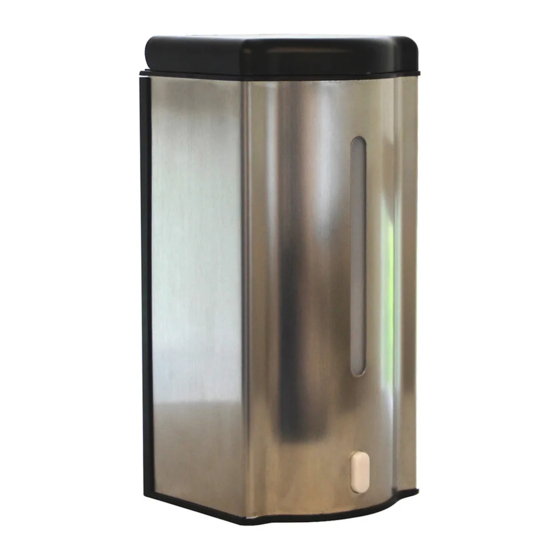
ディスペンサー Advance Tabco 7-PS-104のPDF インストールとトラブルシューティングをオンラインで閲覧またはダウンロードできます。Advance Tabco 7-PS-104 4 ページ。 Electronic soap dispense

WALL MOUNT INSTALLATION:
PLEASE NOTE:
If installing under a cabinet or shelf, You MUST have 3" clearance
ABOVE the soap dispenser in order to be able to install, remove or fill.
(Figure 1)
(Figure 4)
1. Locate position where to mount the dispenser (Figure 1).
Dispenser MUST have 12" (30" cm) or more clearance below for
dispenser to function properly.
2. Make a straight line and mark two holes with a distance between the
holes of 1-7/16 (36 mm) (Figure 2).
3. Drill holes using a 1/4" (6mm) drill bit (Figure 3).
4. If needed, insert plastic anchor (included) in the wall (Figure 4).
5. Line up wall holes with the wall mounting bracket holes. Recessed
holes should be facing you. Insert screws (included) but do not
tighten at this time (Figure 5).
6. Level the bracket, then tighten screws.
7. \Insert 4 "AA" batteries into battery compartment located on the back.
Slide the soap dispenser onto the mounted bracket (Figure 6).
(Figure 2)
(Figure 5)
Hauppauge, New York 11788
(Figure 3)
(Figure 6)
JULY 2020
