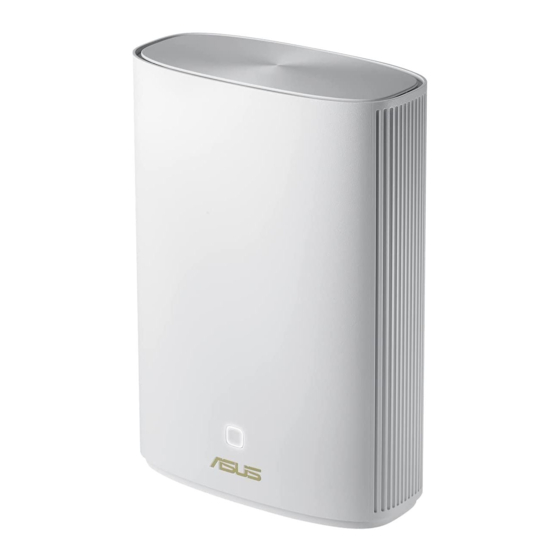
ワイヤレスルーター Asus XP4RのPDF クイック・インストール・マニュアルをオンラインで閲覧またはダウンロードできます。Asus XP4R 2 ページ。

Quick
Start Guide
ASUS ZenWiFi XP4
AX1800 + AV1300 Dual-band Powerline
Mesh WiFi6 System
Model: XP4R/XP4N
E16714 / First Edition / August 2020
Specifications
AC Power input
100 - 240V AC +50/60Hz, 1A
Operating Temperature 0~40
C
Storage
o
Operating Humidity
50~90%
Storage
ZenWiFi Hybrid XP4 LED indications
Solid blue
Your AiMesh router or node is ready for setup.
Solid white
Your AiMesh router or node is online and works well.
Solid amber
The signal between your AiMesh router and the node is weak.
Solid red
Your AiMesh router has no Internet connection.
Your AiMesh node is disconnected from the router.
Blinking blue
Your AiMesh router is applying new settings.
Blinking amber
Your AiMesh router or node is resetting.
Solid purple
Your AiMesh router or node is in rescue mode.
Solid green
Your AiMesh router or node is switching to another channel caused by
system rebooting or radar signals detected on the current channel.
ASUS Router App
Download free ASUS Router APP to set up and manage your router(s).
AiMesh Setup Steps
01
Find your AiMesh router and AiMesh node, and place them within 3 meters of each other during the setup process.
Connect your AiMesh router to the AiMesh node via the following ways.
A.
WiFi Backhaul connection (Skip to Step 02).
B.
Ethernet Backhaul connection: Connect an Ethernet cable from the LAN port of the AiMesh router to the
LAN port of the AiMesh node.
C.
Powerline Backhaul connection (Skip to Step 02).
02
Connect the AiMesh router and AiMesh node to wall sockets using the bundled power cords.
NOTES:
• Do not use power extension cords to avoid degrading HomePlug signal and reducing data transfer speeds.
• To minimize powerline interference, connect the power cords to wall sockets directly.
• Plug the power cords to 3-prong outlets instead of 2-prong ones for higher data transfer speeds.
03
Use a network cable to connect your modem to the WAN port of the AiMesh router.
04
Wait until both LEDs turn solid blue indicating
that devices are ready for the setup.
0~70
C
o
20~90%
05
Enable Bluetooth on your phone and launch
ASUS Router APP, and then follow the onscreen
instructions to finish the AiMesh setup.
Hardware Explanations
ZenWiFi XP4 Overview
WAN port
Reset button
LAN ports 1-2
USB 3.1 Gen 1 port
AC power connector
XP4R
WPS/PLC combo button
XP4R/XP4N
WPS/PLC combo button
Press this button to start WPS or
PLC pairing.
WPS pairing: Press the buttons
on one of XP4 devices and a new
wireless client to establish WiFi
connection.
PLC pairing: Press the buttons on
one of XP4 devices in the existing
Mesh System and a new XP4 device.
After a short time, the new XP4
device will be integrated into your
existing Mesh System.
AiMesh Node
Power
NOTES:
• By default, the AiMesh router is paired with the AiMesh node, allowing you to
quickly complete the setup. If the auto pairing during the initial installation fails, you
can manually pair the AiMesh router with the node by launching ASUS Router App
or pressing the WPS/PLC combo button.
• To set the AiMesh router as the access point mode, go to web GUI (http://router.
asus.com), and go to the page Administration > Operation Mode.
Reset button
LAN ports 1-2
AC power connector
XP4N
AC power connector
Connect one end of the bundled
power cord to this connector and
the other end to a wall socket.
Reset button
Press this button to reset or restore
the system to its factory settings.
WAN port
Connect your modem to this port
with a network cable.
LAN ports 1-2
Connect your PC to a LAN port with
a network cable.
USB 3.1 Gen 1 port
Insert a USB 3.1 Gen 1/ USB 2.0
device such as a USB disk or USB
3G/4G modem into this port.
AiMesh Router
A
B
LAN
C
Power
