- ページ 9
産業機器 Dover TWG 250PRのPDF サービス&リペアマニュアルをオンラインで閲覧またはダウンロードできます。Dover TWG 250PR 19 ページ。

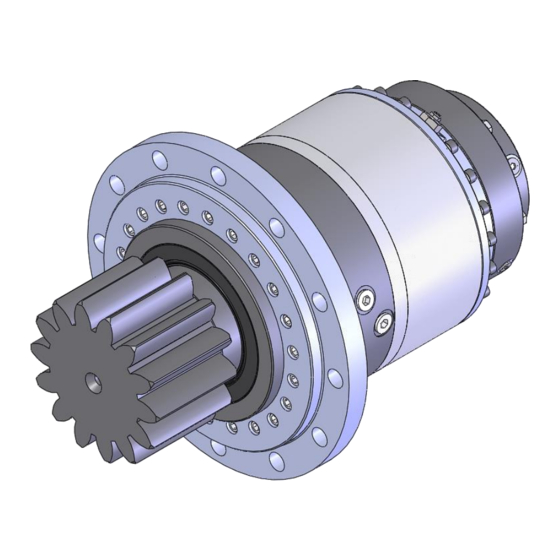
1. After servicing, inspecting and or repairing the Brake, Pinion Bearing and or the Planetary
Gear sub-assemblies start reassembly by positioning the Bearing/Pinion section in a pinion
down orientation.
2. Install new O-ring (Item 43) onto ring gear pilot on top of bearing housing (Item 1).
3. Next install the ring gear (Item 12) onto the bearing housing making sure to align dowel
pins with the appropriate dowel pin hole. Using a dead blow hammer tap ring gear into
position.
4. Insert the output planetary gearset (Item 10) into the ring gear making sure that it fully
engages the splines on the output pinion shaft (Item 2).
5. Install output sun gear (item 18) into output planet set (Item 10).
6. Place and center nylon thrust washer (Item 14) on top of output planet set (Item 10).
7. With nylon washer in place install the input planet set (Item 11) into the ring gear making
sure it fully engages the teeth on the output sun gear (Item 18).
8. Insert the input sun gear (Item 13) into the input gear set (Item 11). Turn sun gear by
hand to ensure the gearing rotates and is not bound up.
9. Place and center nylon thrust washer (Item 14) onto input planet set (Item 11).
10. Lubricate and install a new O-ring (Item 43) onto brake housing (Item 27).
11. While considering proper port orientation install the brake section sub-assembly onto ring
gear (Item 12) and input sun gear (Item 13).
12. Install the 20 ring gear bolts and washers (Items 15 and 16). Tighten to spec. See page 15
for Torque Specifications Chart.
ASSEMBLY
9
