- ページ 10
冷蔵庫 Follett 18690のPDF 設置、操作、サービスマニュアルをオンラインで閲覧またはダウンロードできます。Follett 18690 19 ページ。 High-performance compact refrigerators

Controller Security
The controller panel can be locked to prevent unauthorized programming changes. In locked mode, the controller
displays cabinet temperature and set point only.
To lock the controller
1. Simultaneously press and hold UP and DOWN ARROW buttons for 3 seconds, until "PoF" displays (fl ashes
3 times).
2. Programmer is now locked.
To unlock the controller
1. Simultaneously press and hold UP and DOWN ARROW buttons for 3 seconds, until "Pon" displays (fl ashes
3 times).
2. Programmer is now unlocked.
Programming Refrigerator from a Program Key (download)
1. Move the power switch on lower rear panel to OFF.
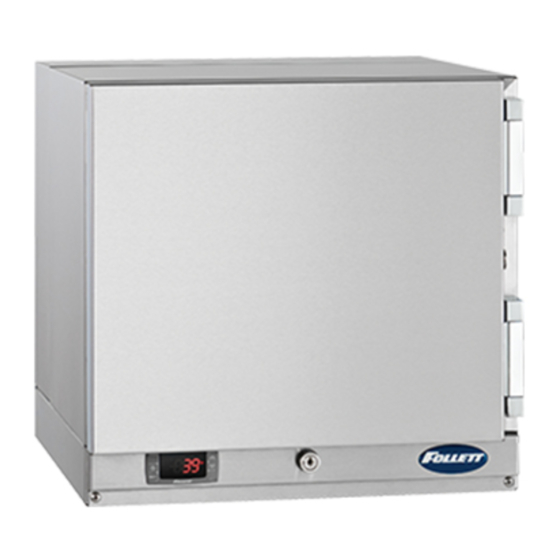
2. Remove the front lower panel cover to access the controller
(Fig. 9).
3. Insert appropriate programmed key into 5-pin receptacle located
on back of controller.
4. Move the power switch to ON.
5. Values from key automatically download to refrigerator ("dol"
message blinks followed by "end").
6. After 10 seconds, display returns to current refrigerator
temperature and controller restarts with new values.
7.
Move the power switch to OFF.
8. Remove programming key.
9. Reinstall panel.
10. Move the power switch to ON.
Note: An "Err" message displays for failed programming. Turn
refrigerator OFF then ON to restart download, or remove key
to abort.
Connecting to Dry Contacts for Remote Alarming
1. Move the power switch on lower rear panel to OFF and unplug
the refrigerator.
2. Remove the front lower panel cover (Fig. 9) to access the
controller.
3. Connect two wires from the remote alarm device to contacts
1(C) and 2(NO or NC) on the temperature controller (Fig. 10).
4. Carefully route wires through the back of the refrigerator; do not
to run wires over surfaces that may damage the wiring.
5. Reinstall the front lower panel cover.
6. Connect remote alarm device.
7.
Plug in the refrigerator and return the power switch to ON.
10
REF1/REF2 Compact Refrigerators
Fig. 9
Fig. 10
F/C Jumper Wire
AUX/ALARM
1
4
2
3
5
6 7
8
C NO NC
Supply
Supply
Line
Probe
11 12
9 10 11 12
!
Controller programming
key (accessory)
