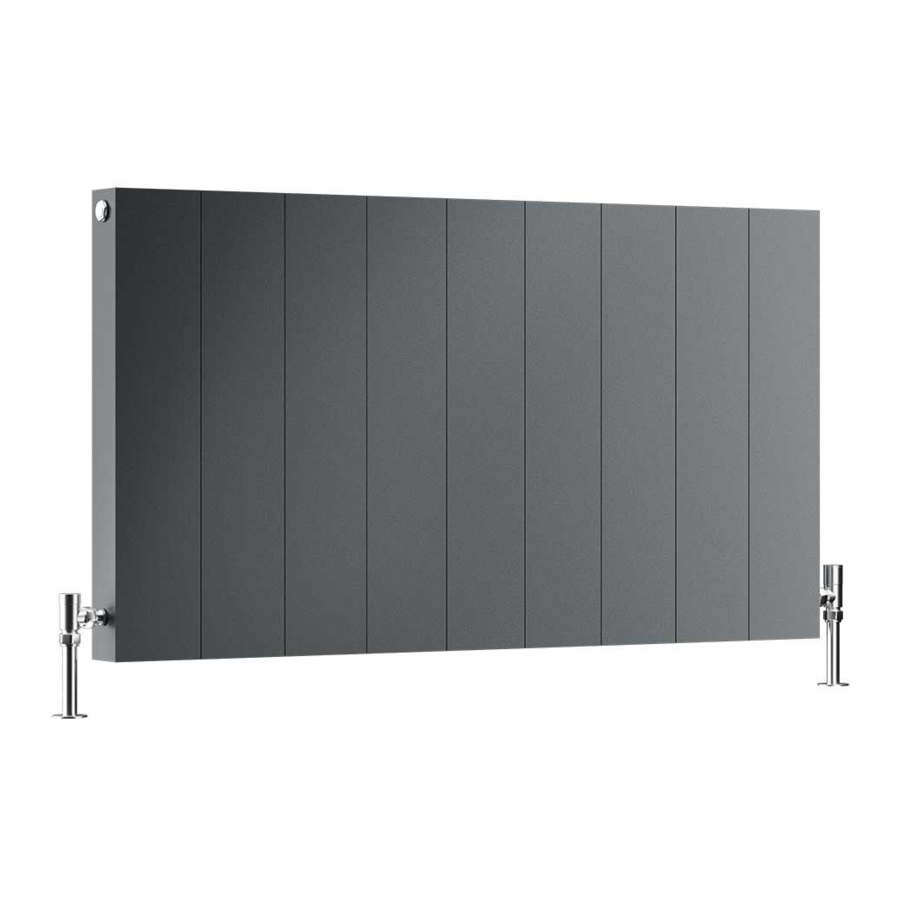
ヒーター DQ Vela ElectricのPDF 使用方法をオンラインで閲覧またはダウンロードできます。DQ Vela Electric 2 ページ。
DQ Vela Electric にも: 設置と固定 (4 ページ), 取扱説明書 (18 ページ)

Vela Electric Instructions
Display and symbol description:
1.
To turn the unit on or enter into "stand by" mode Press and Hold the stand by button for 2 seconds. When in
"stand by" the red light at the bottom left of the screen will be lit, when the unit is on the screen will be illuminated and
the red light will go out.
2.
When the unit is turned on and in program mode (with the arrow pointing to the sun and clock symbols at the
same time) the temperature can be set by turning the control knob, clockwise to increase and anti-clockwise to decrease.
The temperature selected will be shown on the screen
3.
Comfort setting - push the mode button until the arrow is pointing to the sun symbol only. In this setting the
temperature will be regulated to the value set on the screen
4.
Night mode - push the mode button until the arrow is pointing to the moon symbol. In this setting the
temperature will be reduced by 3.5 degrees C.
5.
Anti-freeze setting – push the mode button until the arrow is pointing to the snow flake symbol. The unit will be
activated if the temperature falls below 7 degrees C.
6.
To set the daily thermostat you must be in a programme mode (this is shown by the arrow pointing to the sun
and clock symbols at the same time).
Push and hold the mode button for 5 seconds until "PRO" is shown on the screen.
Push the mode button to select the day (D1 = Monday through to D7 = Sunday)
Push the stand by button to enter the programme mode
Press the mode button to set the start time for comfort mode, then press the stand by button to set the start time for
night or reduced setting
Push and hold the mode button to return to day selection and repeat for each day
7.
Setting the clock can only be done while the unit is in "stand by "mode
Press and hold the mode button until SET appears on the screen, then press the mode button to advance the time, holding
down the mode button will advance the time more quickly.
1)
Mode not required
2)
Comfort mode.
3)
Night reduction mode
4)
Antifreeze mode
5)
Temperature display
6)
Clock display
7)
Weekly Chrono mode indicator
8)
IR/RF reception indicator
9)
Stand-by indicator
10)
Daily program bar
MODE
STANDBY
BUTTON
