- ページ 13
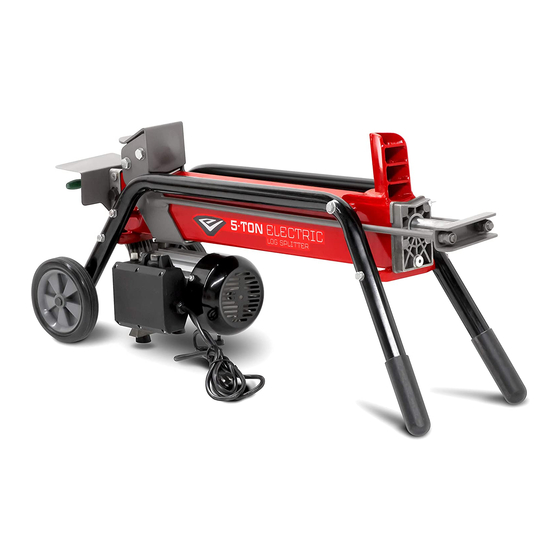
ログスプリッター DR PILOT 5TEのPDF 安全・取扱説明書をオンラインで閲覧またはダウンロードできます。DR PILOT 5TE 20 ページ。 5-ton electric log splitter

Chapter 4: Maintaining The DR 5-TON ELECTRIC LOG SPLITTER
Regular maintenance is the way to ensure the best performance and long life of your machine. Please refer to this manual for
maintenance procedures.
Before performing any repairs or maintenance procedure, unplug the Electric Log Splitter power cord from the power source.
Regular Maintenance Checklist
P
ROCEDURE
Clean the log Ram and Guides.
Check the Splitting Wedge for sharpness.
Check the general condition of the Electric Log Splitter (e.g. nuts, bolts, welds, etc).
Check the Ram for smooth travel.
Check the condition of the electrical cord.
Check the hydraulic fluid level (See "Adjusting the Hydraulic Fluid Level").
Change the hydraulic fluid (See "Changing the Hydraulic Fluid").
Adjusting the Hydraulic Fluid Level
NOTE: Check the hydraulic fluid level every few months if the Troubleshooting Table in Chapter 5 suggests that the fluid level may be off.
Tools and Supplies Needed:
6mm Allen Wrench
Small Funnel
Clean Rags
1. Check the hydraulic fluid level by tipping the machine up vertical on the
Wheels and Control Lever Guard (place a block under the Control Lever
Guard so the weight is not on the Control Lever). You may need to have
someone support the Electric Log Splitter to prevent tipping over. Clean the
area around the Hydraulic Fluid Fill/Drain Port (Figure 12) and then, using a
6mm Allen Wrench, unscrew and remove the Dipstick located in the
Hydraulic Fluid Fill/Drain Port.
2. Clean the Dipstick with a Rag, insert the Dipstick (do not screw the Dipstick
down when checking), remove and check the level; it should be between the
two marks on the Dipstick. If the fluid is too high, simply pour out a little at
a time into a suitable container by tilting the Electric Log Splitter. If the fluid
is too low, insert a small Funnel and add Hydraulic Fluid (See
"Specifications" in Chapter 2 for Fluid type) a little at a time, until the level
falls between the two marks on the Dipstick.
3. Clean the Dipstick and the Copper Washer thoroughly and reinstall, being
careful not to damage the threads of the aluminum Hydraulic Fluid Cylinder
End Cover.
4. Lower the machine to the ground, open the Air Bleed Screw and cycle the
Ram back and forth 3 or 4 times to purge any air from the hydraulic system
(see "Operating the DR 5-TON ELECTRIC LOG SPLITTER" in Chapter 3).
B
E
EFORE
ACH
U
SE
ADD
Hydraulic Fluid
Drain/Dipstick
Figure 12
CONTACT US AT www.DRpower.com
E
150
VERY
H
OURS
FULL
Air Bleed
Screw
13
