- ページ 7
医療機器 Dr. Mach MACH 120 SeriesのPDF 取付説明書、使用方法をオンラインで閲覧またはダウンロードできます。Dr. Mach MACH 120 Series 19 ページ。 Ceiling, wall, new-type stand model
Dr. Mach MACH 120 Series にも: 取扱説明書 (19 ページ)
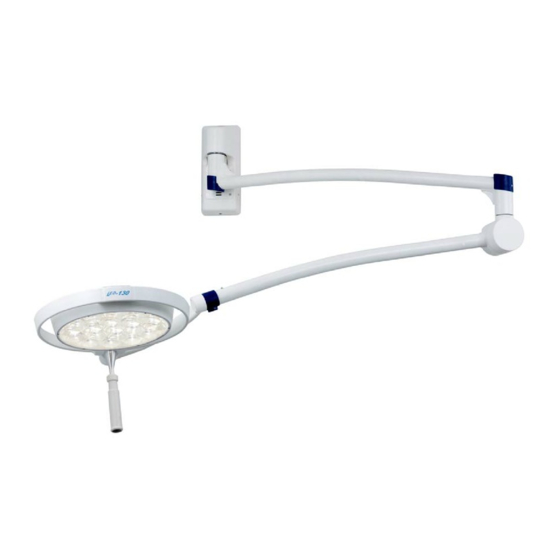
Wall attachment Mach 120/130
Mach LED 120/130
59860002
3. Wall attachment
3.1 Preparatory work on the wall
Fastening with dowels
If dowels are included in the scope of supply,
please do not use them!
Dr. Mach cannot guarantee that the supplied
dowels are suitable with the existent wall.
Please ask a structural engineer for the proper
dowels according to the configuration of the
wall (see also the static inspection on page 5).
•
In the case of a fixed connection, lay the
electrical cable.
Fastening with counter-plate
Depending on the stability of the location, it may be
necessary to use a counter-plate for the wall
attachment.
•
Ascertain the exact position of the OT-lamp-
•
In the case of a fixed connection, lay the
electrical cable.
•
Stick the supplied drilling template to the wall.
•
Drill the two holes ∅ 12mm and 190mm apart.
When drilling, keep as closely as possible to the
spacing between the holes. The counter-plate
can be mounted with variations of up to 20mm.
Electrical connection is carried out later using a 2m
long cable provided by Dr. Mach with shock-proof
plug on the wall arm.
It is important to check whether there is an
appropriate plug socket in the vicinity.
If the lamp is to be connected directly, the mains
connection must be located between the two fixing
screws (see section showing electrical connection).
Follow any directions given by the technical
staff!
Edition 11
Dr. Mach
Lamps and Engineering
25.25.2011 / Bak Page 7/19