- ページ 4
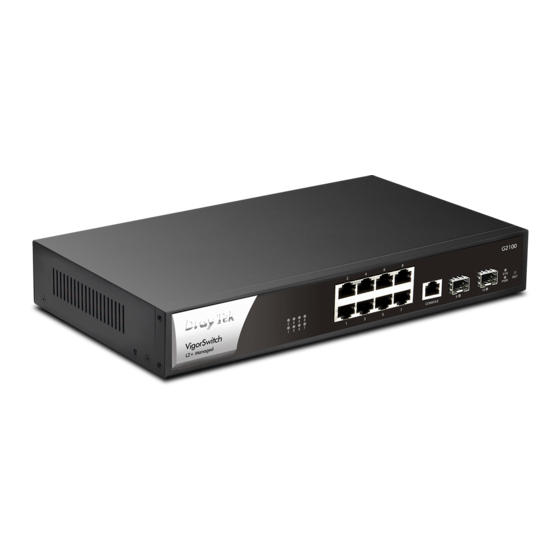
スイッチ Draytek VigorSwitch G2100のPDF クイック・スタート・マニュアルをオンラインで閲覧またはダウンロードできます。Draytek VigorSwitch G2100 8 ページ。 L2+ managed switch
Draytek VigorSwitch G2100 にも: クイック・スタート・マニュアル (9 ページ), クイック・スタート・マニュアル (9 ページ)

3
.
H
a
r
d
w
a
r
e
3
.
H
a
r
d
w
a
r
e
3
.
1
N
e
t
w
o
r
k
3
.
1
N
e
t
w
o
r
k
Before starting to configure the device, you have to connect your devices
correctly.
A hierarchical network with minimum levels of devices may reduce the timing
delay between server and client station. Basically, this approach will minimize
the number of devices in any one path; will lower the possibility of network loop,
and will improve network efficiency. If more than two devices are connected in
the same network, select one device as a Level 1 device and connect all other
devices to it at Level 2. Server/Host is recommended to connect to the Level 1
device. This is generally if no VLAN or other special requirements are applied.
All device ports are in the same local area network.
3
.
2
R
a
c
k
-
M
o
u
3
.
2
R
a
c
k
-
M
o
u
The switch can be installed easily by using rack mount kit.
1.
Fasten the rack mount kit on both sides of the
VigorSwitch using specific screws.
2.
Then, install the VigorSwitch (with rack mount
kit) on the 19-inch chassis by using other four
screws.
I
n
s
t
a
l
l
a
t
i
o
n
I
n
s
t
a
l
l
a
t
i
o
n
C
o
n
n
e
c
t
i
o
n
C
o
n
n
e
c
t
i
o
n
n
t
e
d
I
n
s
t
a
l
l
a
t
i
o
n
t
e
d
I
n
s
t
a
l
l
a
t
i
o
n
n
3
