- ページ 4
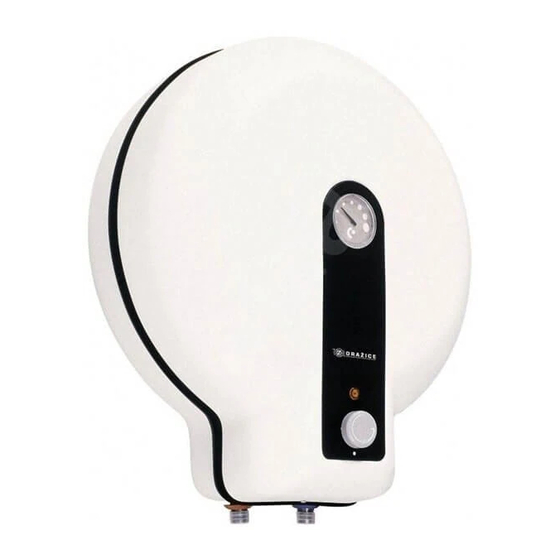
ウォーターヒーター Drazice TO-20のPDF 操作および設置マニュアルをオンラインで閲覧またはダウンロードできます。Drazice TO-20 8 ページ。 Electric accumulation water heater
Drazice TO-20 にも: 操作および設置マニュアル (14 ページ)

6.
OPERATING ACTIVITY
After the heater is connected to electric network, the heating element starts heating water. The element is turned
on and off by a thermostat.
Thermostat can be set as per your need within the range from 7°C to 75°C. We recommend setting service water
to max temperature of 60°C. This temperature ensures the optimal operation of the heater. After reaching the temperature
set, the thermostat switches off the electric circuit and thus discontinues water heating. The control light signals if the
element is in operation (light is on) or if it is off (the light goes out). In case of longer operation without using the heated
volume the thermostat has to be set to position 5°C to 12°C (set the "snowflake" symbol on the thermostat selector) to
avoid its freezing.
7.
WALL MOUNTING
Prior to mounting check the loading capacity of the wall. If needed, reinforce it. The water heater shall only be
mounted in vertical position so that the lower edge of the heater was placed at least 600 mm above the floor. The
fastening screws must have guaranteed spacing of 180mm. Mounting dimensions are specified on Fig. 3.
8.
PLUMBING FIXTURE
Connection to plumbing fixtures is illustrated on Fig.4. For potential disconnection of the heater, the service water inlets
and outlets must be provided with screw coupling G1/2". The safety valve can be mounted both in vertical and horizontal
position in the indicated direction of cold water flow. Safety valve is mounted on the cold water inlet identified with a
blue ring.
The heaters must be equipped with a drain valve.
Each hot service water pressure heater must have a safety valve with a membrane spring. The safety valve must be easily
accessible, as close to the heater as possible. The input pipes must have at least the same clearance as the safety valve.
The safety valve is placed high enough to secure dripping water drain by gravity. We recommend mounting the safety
valve onto a branch pipe. This allows easier exchange without having to drain the water from the heater. Safety valves
with fixed pressure settings from the manufacturer are used for the assembly. Starting pressure of a safety valve must be
identical to the maximum allowed heater pressure, and at least 20% higher than the maximum pressure in the water main.
If the water main pressure exceeds such value, a reduction valve must be added to the system. No stop valves can be put
between the heater and the safety valve. During the assembly, follow the guide provided by the safety equipment
manufacturer. It is necessary to check the safety valve each time before putting it into operation. It is checked by manual
moving of the membrane from the seat, turning the make-and-break device button always to the right. After being turned,
the button must click back into a notch. Proper function of the make-and-break device results in water draining through
the safety valve outlet pipe. In common operation, such a check needs to be implemented at least once a month, and after
each heater shutdown for more than 5 days. Water may be dripping off the drain pipe of the safety valve; the pipe must be
open into the air, pointed down; environment temperatures must not drop below zero.
When draining the heater, use a recommended drain
valve. First, close water input into the heater.
Find necessary pressure values in the following table.
For proper safety valve operation, a backflow valve must
be mounted on the inlet pipes, preventing
spontaneous heater draining and hot water
penetrating back into the water main.
When
assembling
equipment, follow ČSN 06 0830.
9.
ELECTRIC INSTALLATION
The electric wiring scheme is attached to the water heater on the inner side of the removable front guard (Fig. 2).
The heater has to be connected via a separate supply with a front-end main switch.
The heater is connected to the 230V/50Hz electric network using a fixed moving conductor with a switch that
turns off all network poles and the circuit breaker (protector).
Connection, repairs, and wiring inspections may only be implemented by a company (person) authorised to such activity.
Expert connection must be confirmed on the warranty certificate.
Electric installation must comply with valid electrotechnical standards. Connection of the heater to electric
network shall be executed following the plumbing fixture. In order to enhance the protection of connection in bathrooms
starting pressure
the
security
Safety valve
Admissible operating
water heater
(MPa)
pressure (MPa)
0.6
0.7
1
4
Max. pressure in
the cold water pipe
(MPa)
0.6
do 0.48
0.7
do 0.56
1
do 0.8
